


Divergent kits
 02-16-2020, 02:19 PM
#101

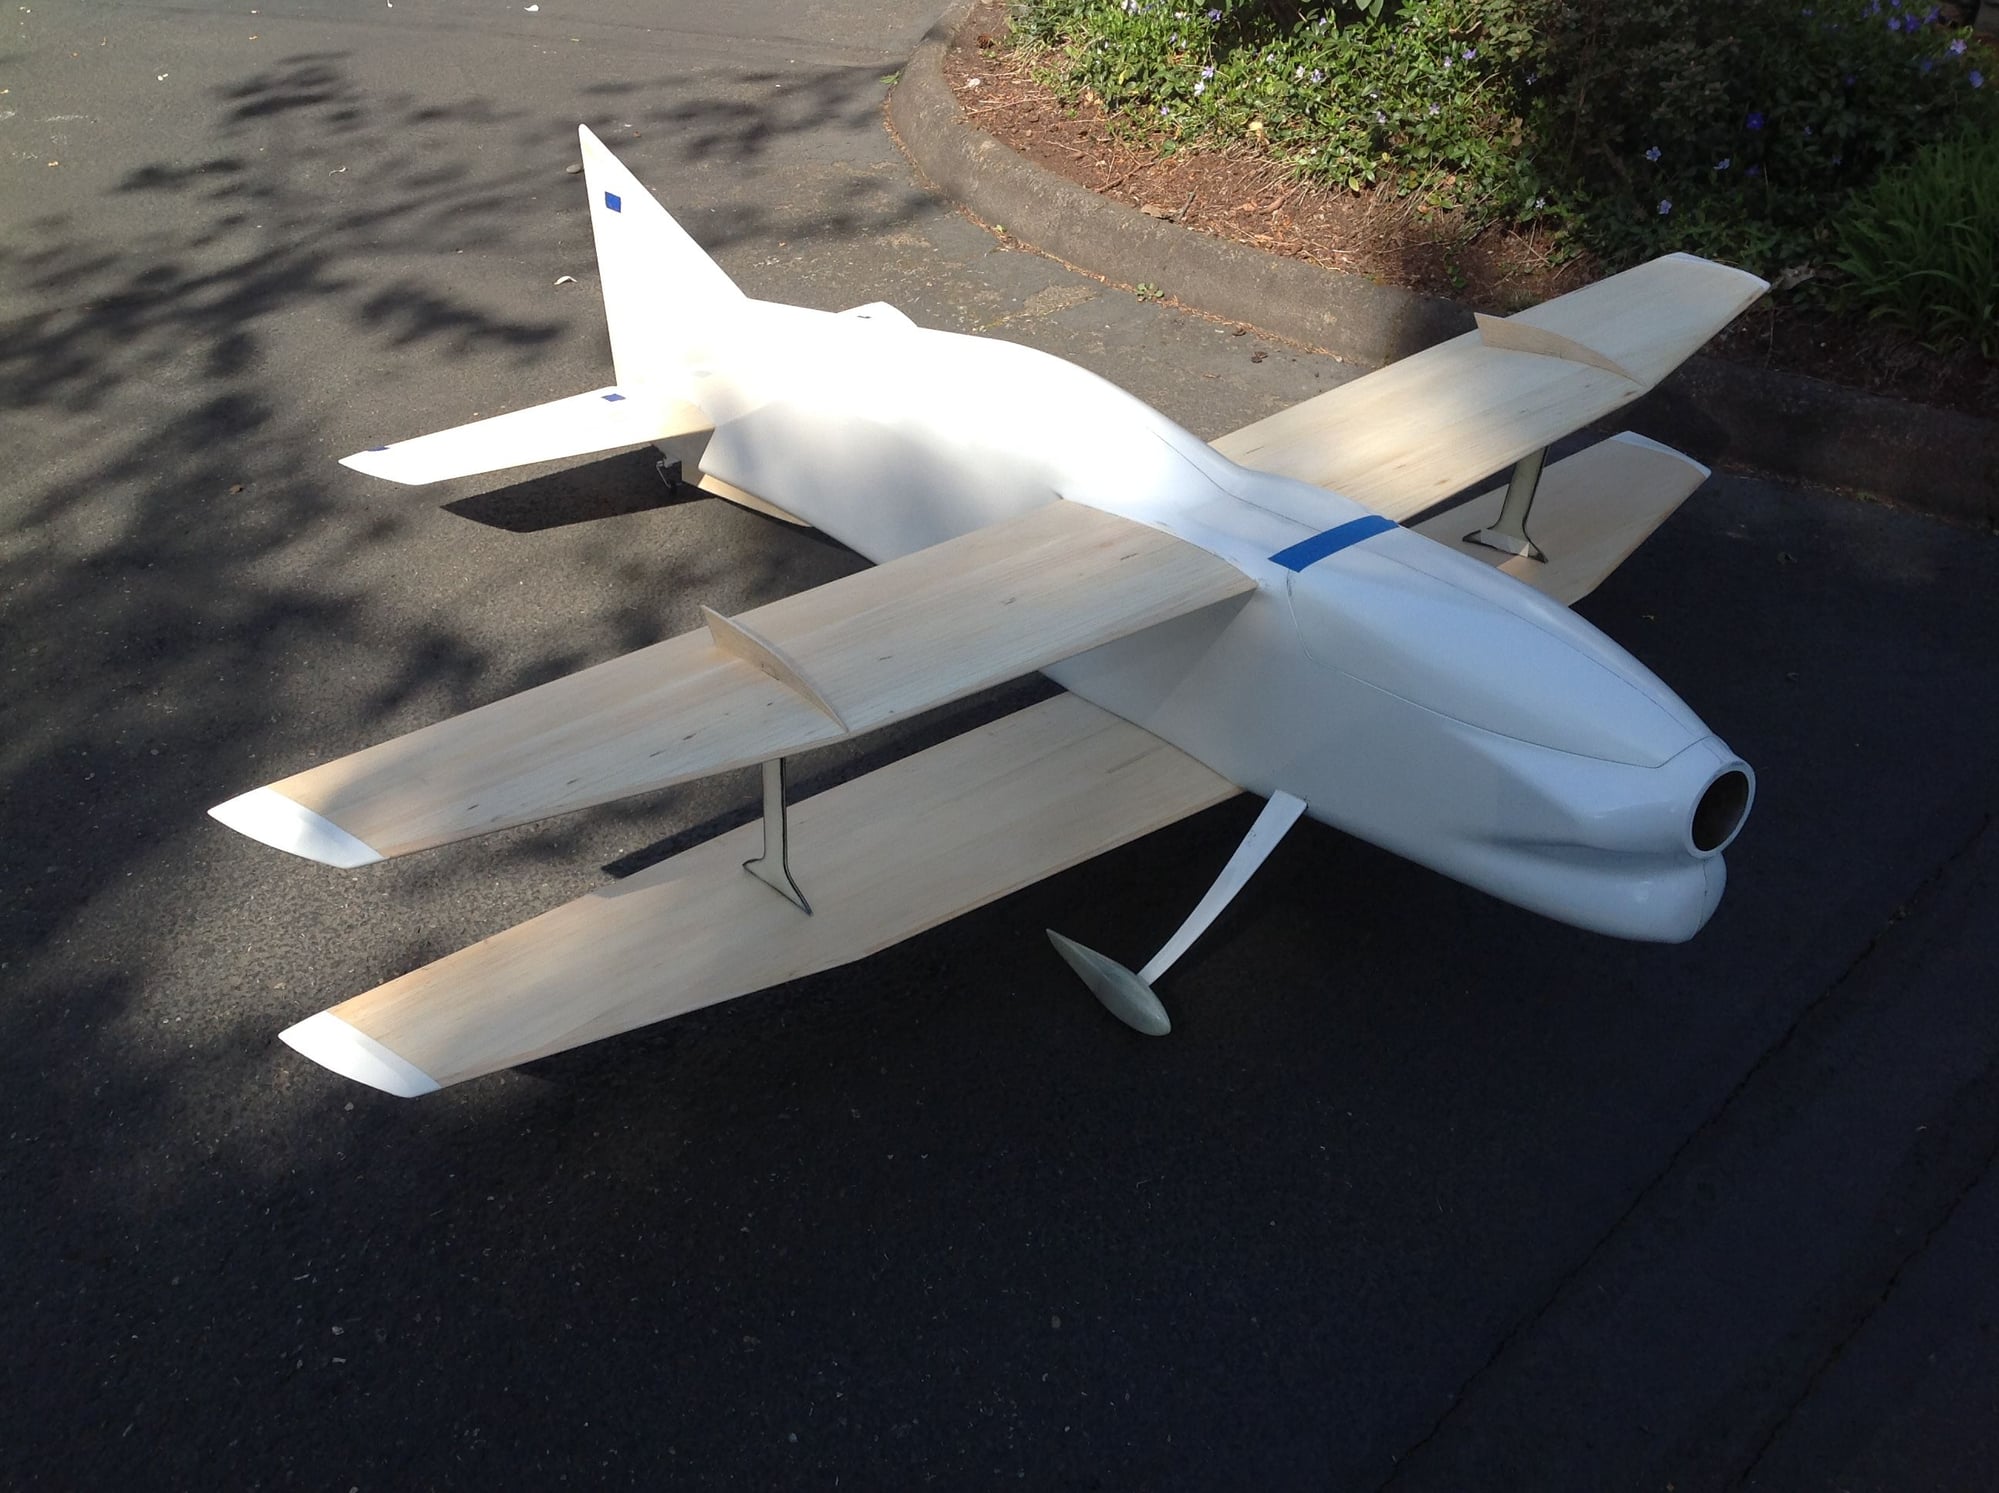
Time to start mounting surfaces to the fuselage.
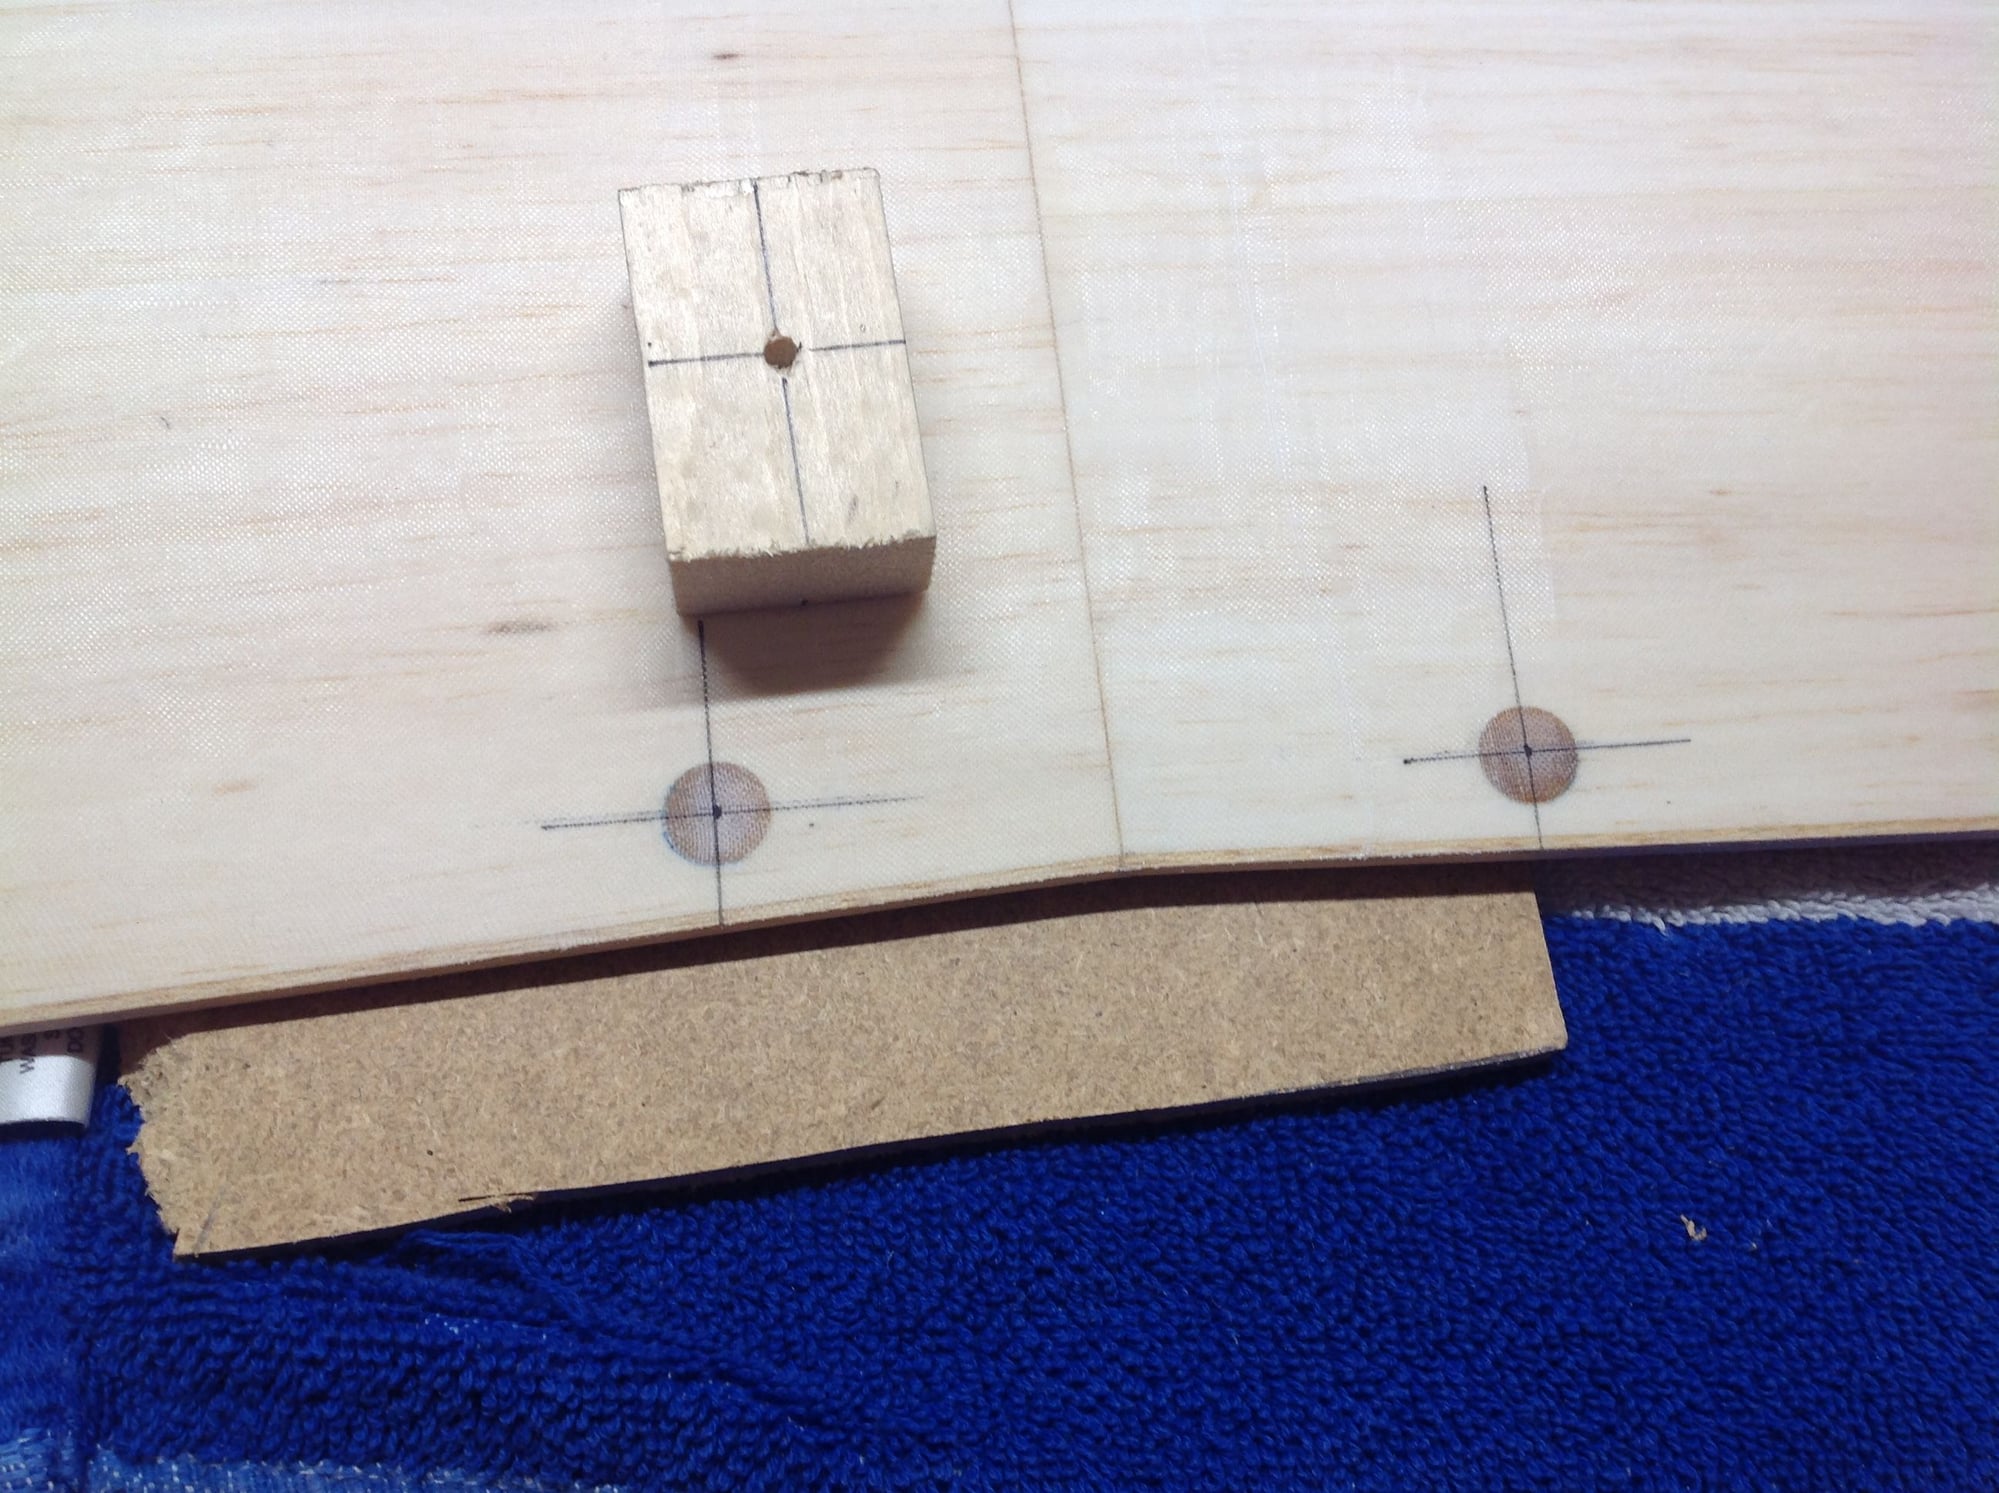
Marking out where the lower wing mounting holes need to be. Wood block drilled in drill press is used as drill guide.

Holes drilled in hard points, not as accurate as I wanted but will work just fine.
Marking out where the lower wing mounting holes need to be. Wood block drilled in drill press is used as drill guide.
Holes drilled in hard points, not as accurate as I wanted but will work just fine.

The following users liked this post:
jnayjaso (04-05-2020)
02-16-2020, 02:26 PM
#102
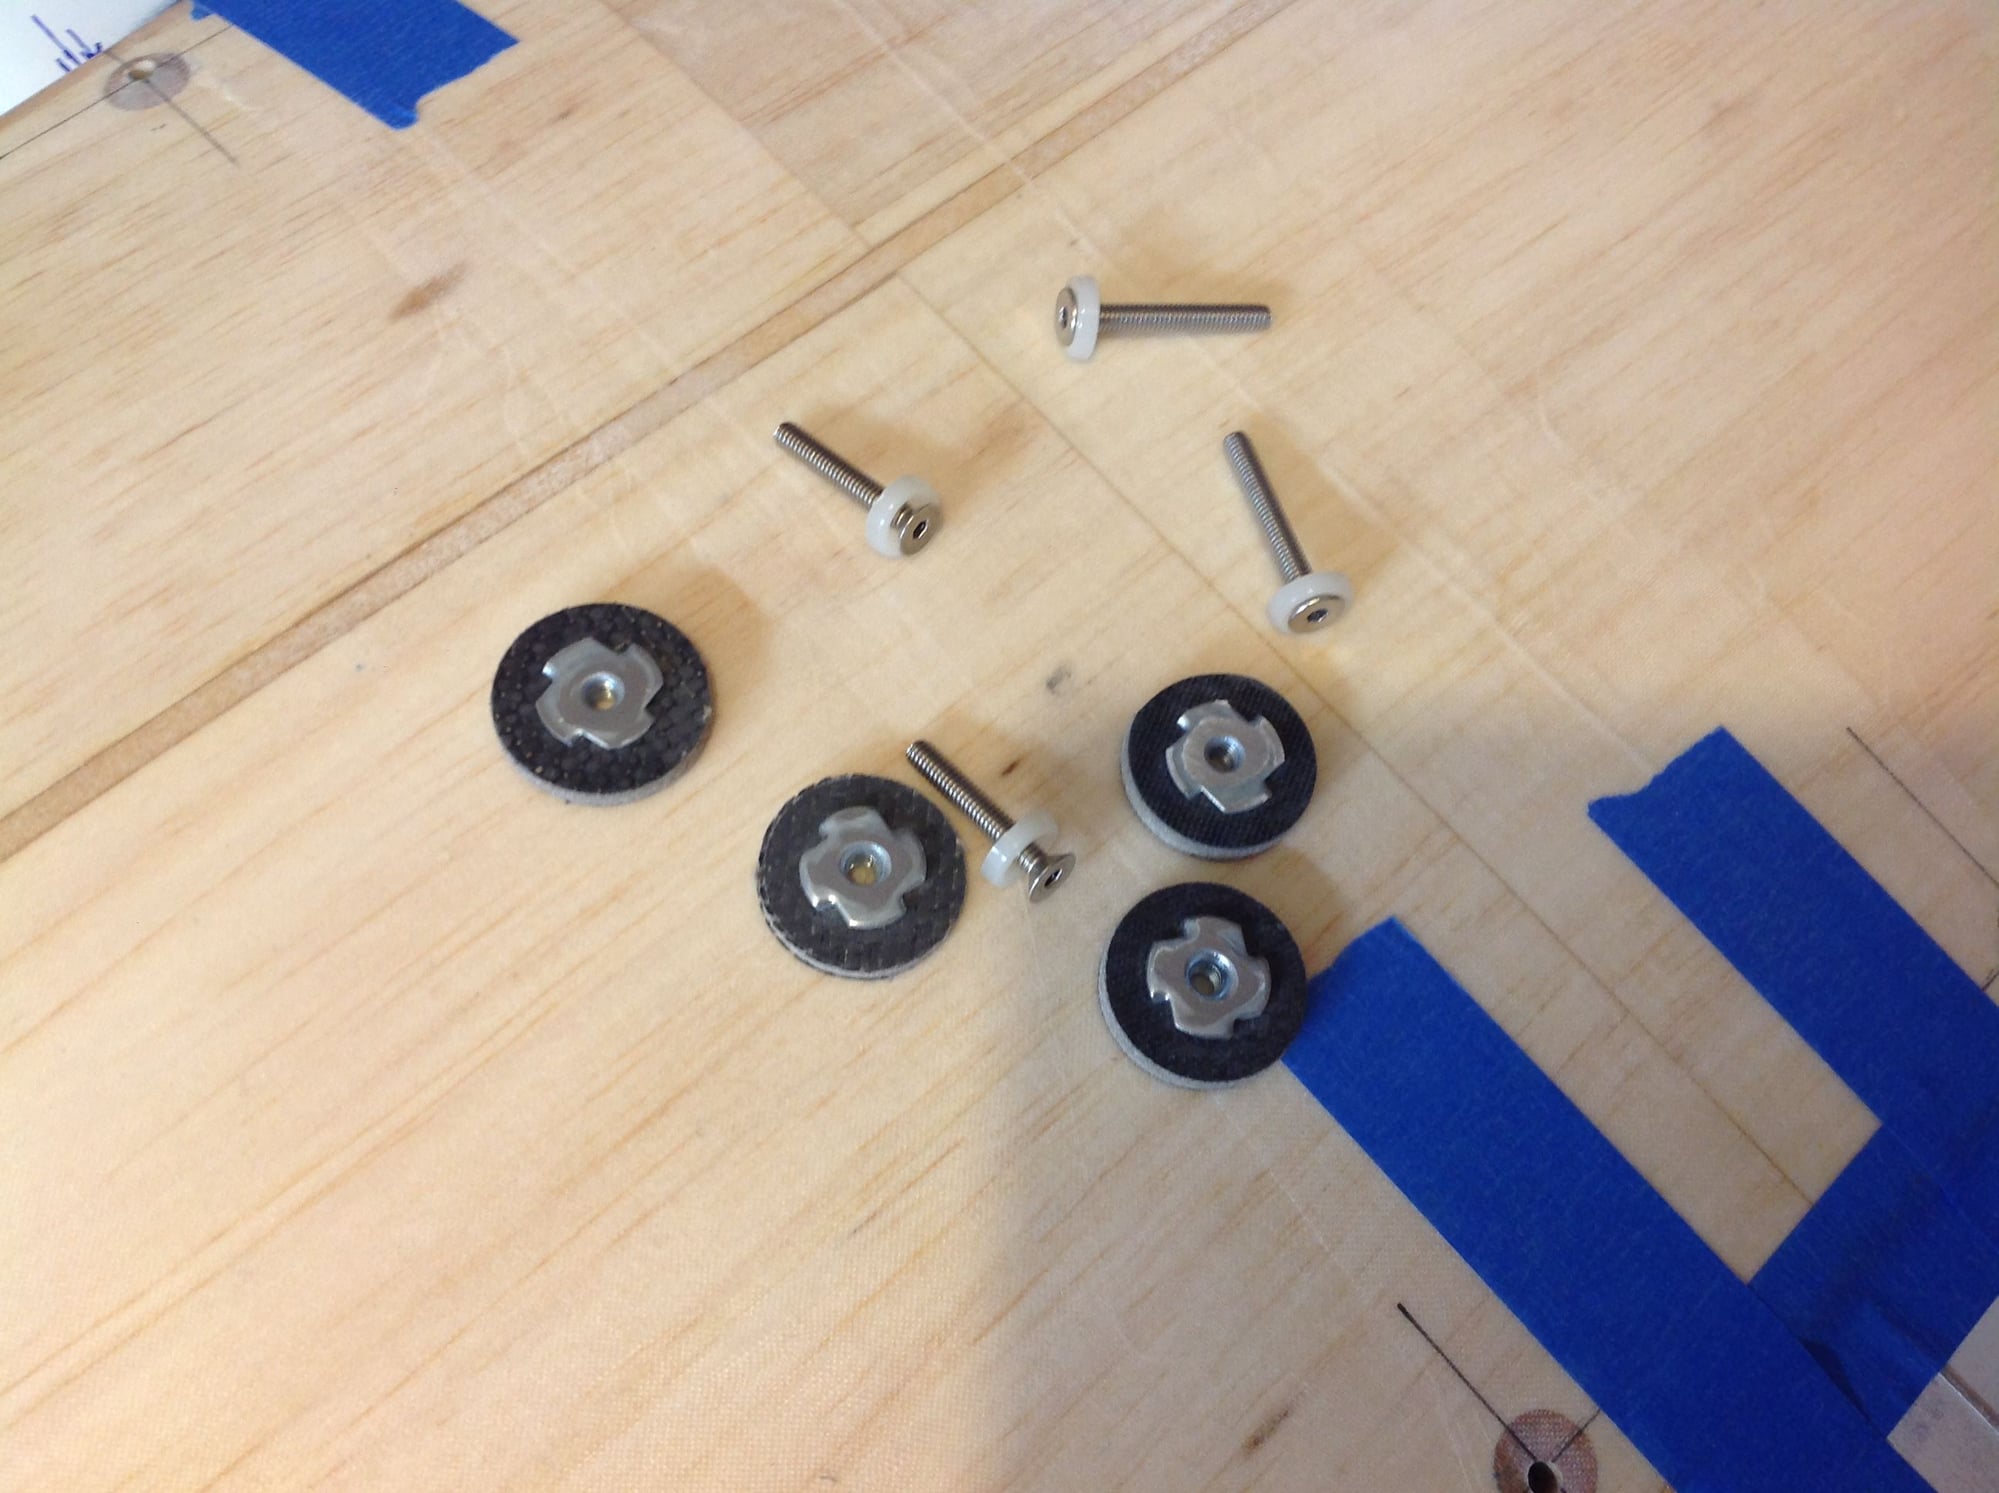
Wing attachment hardware, screws will get a coat of wax, an epoxy paste will be applied to the surface of the the blind nuts shown.

Wing in place and screws inserted, the CF pads and blind nuts get bonded to the inside. When epoxy is dry the wing will be removed and mounts will be done.
The following users liked this post:
jnayjaso (04-05-2020)
02-16-2020, 02:37 PM
#103
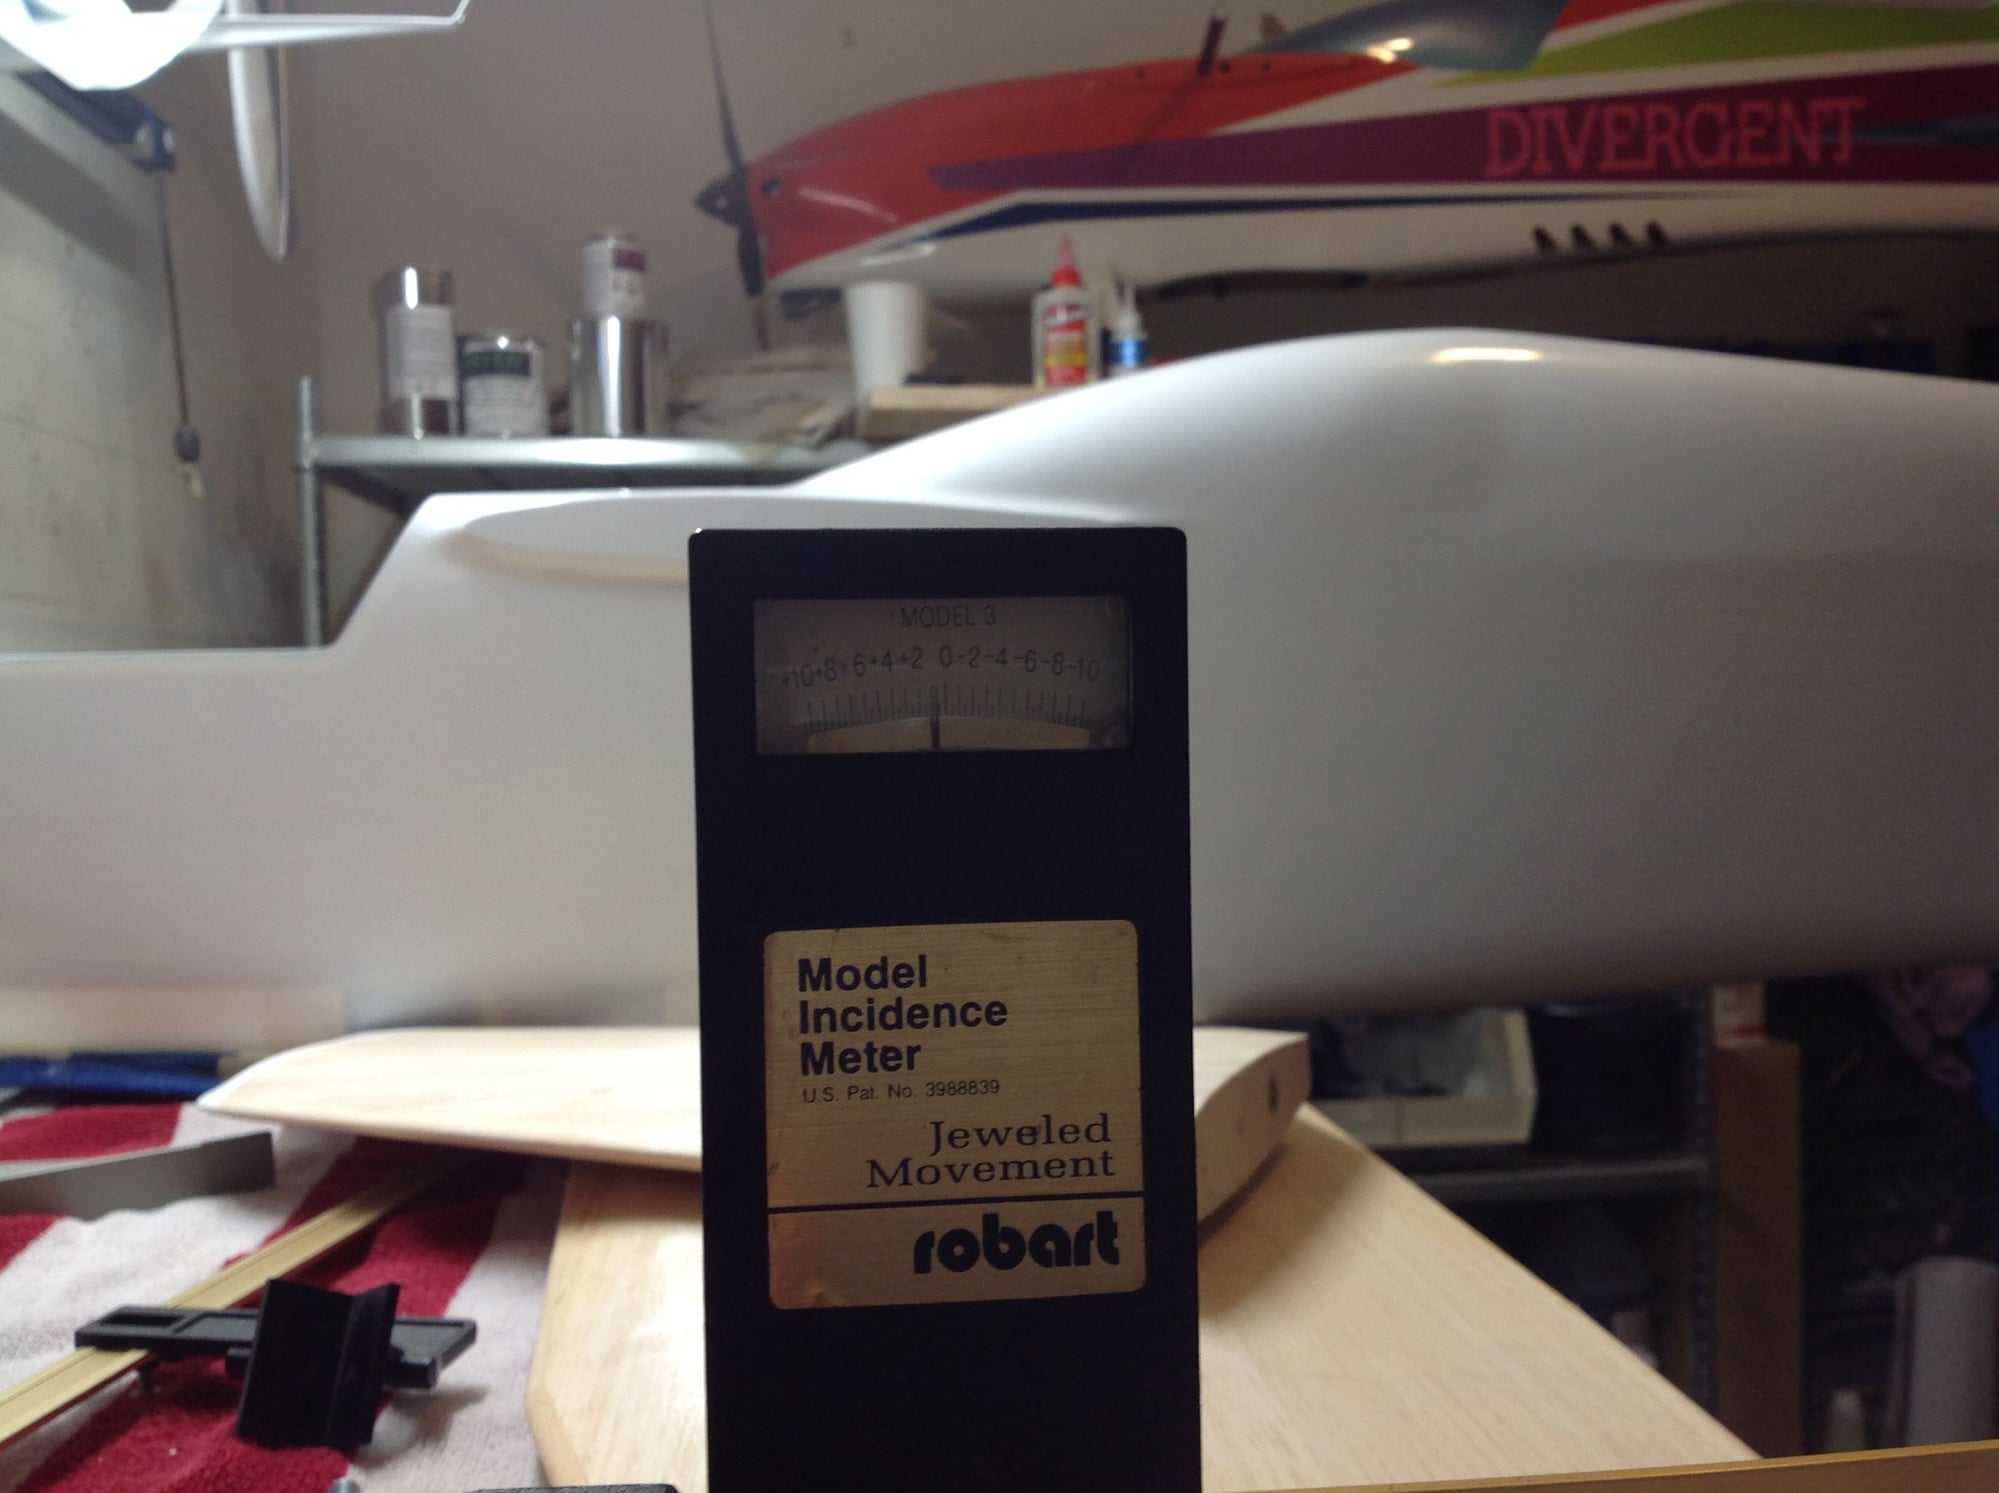
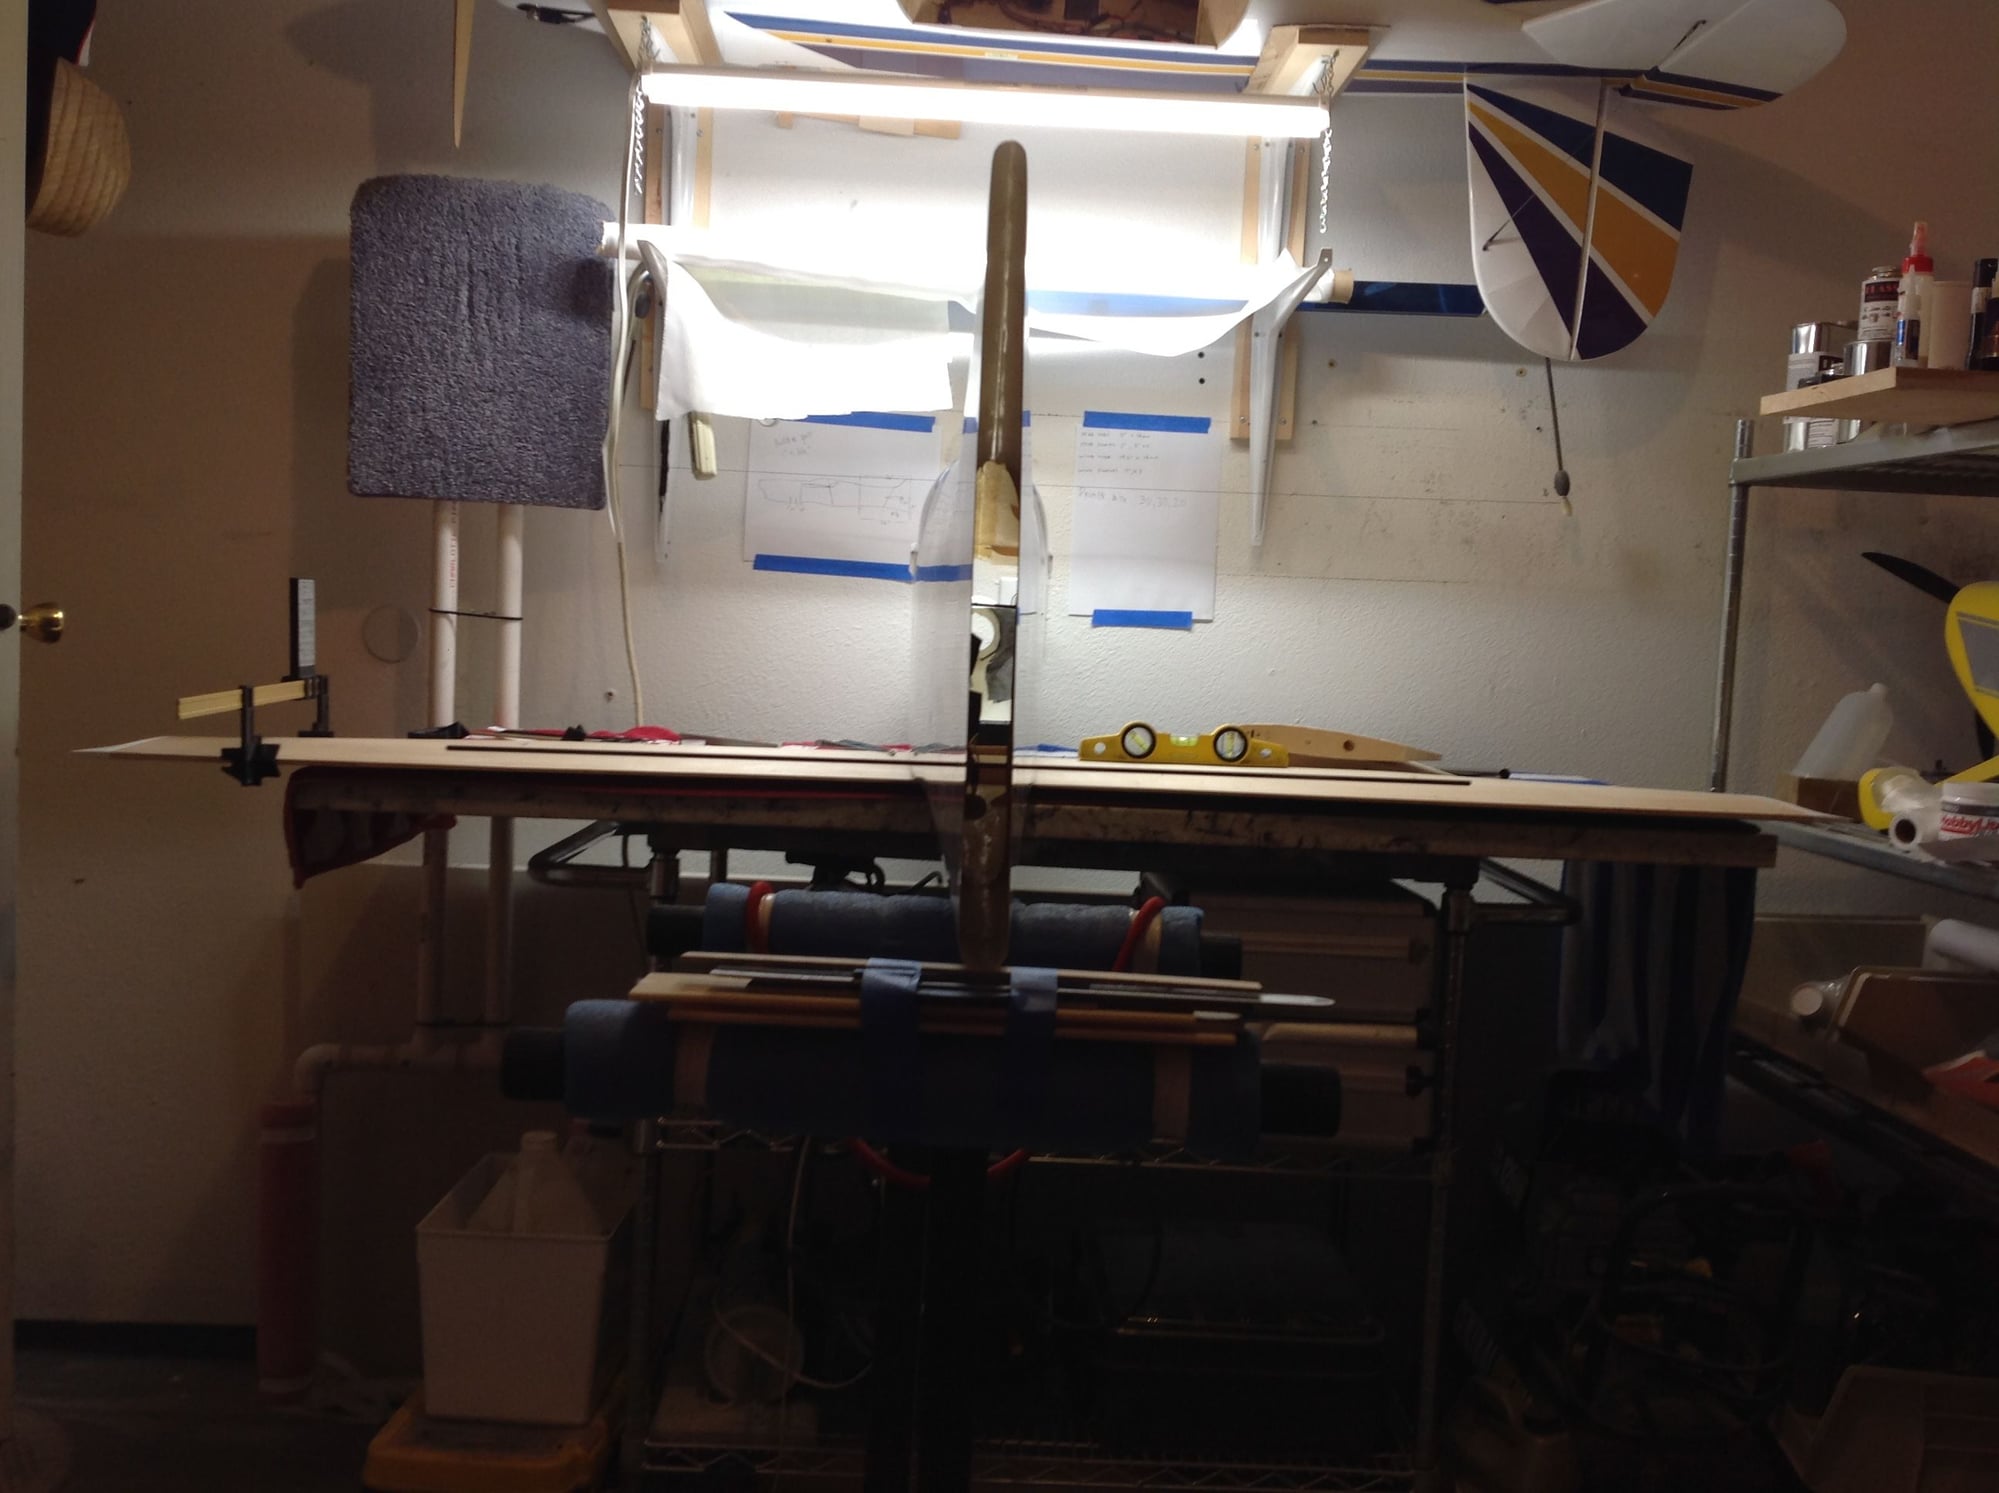
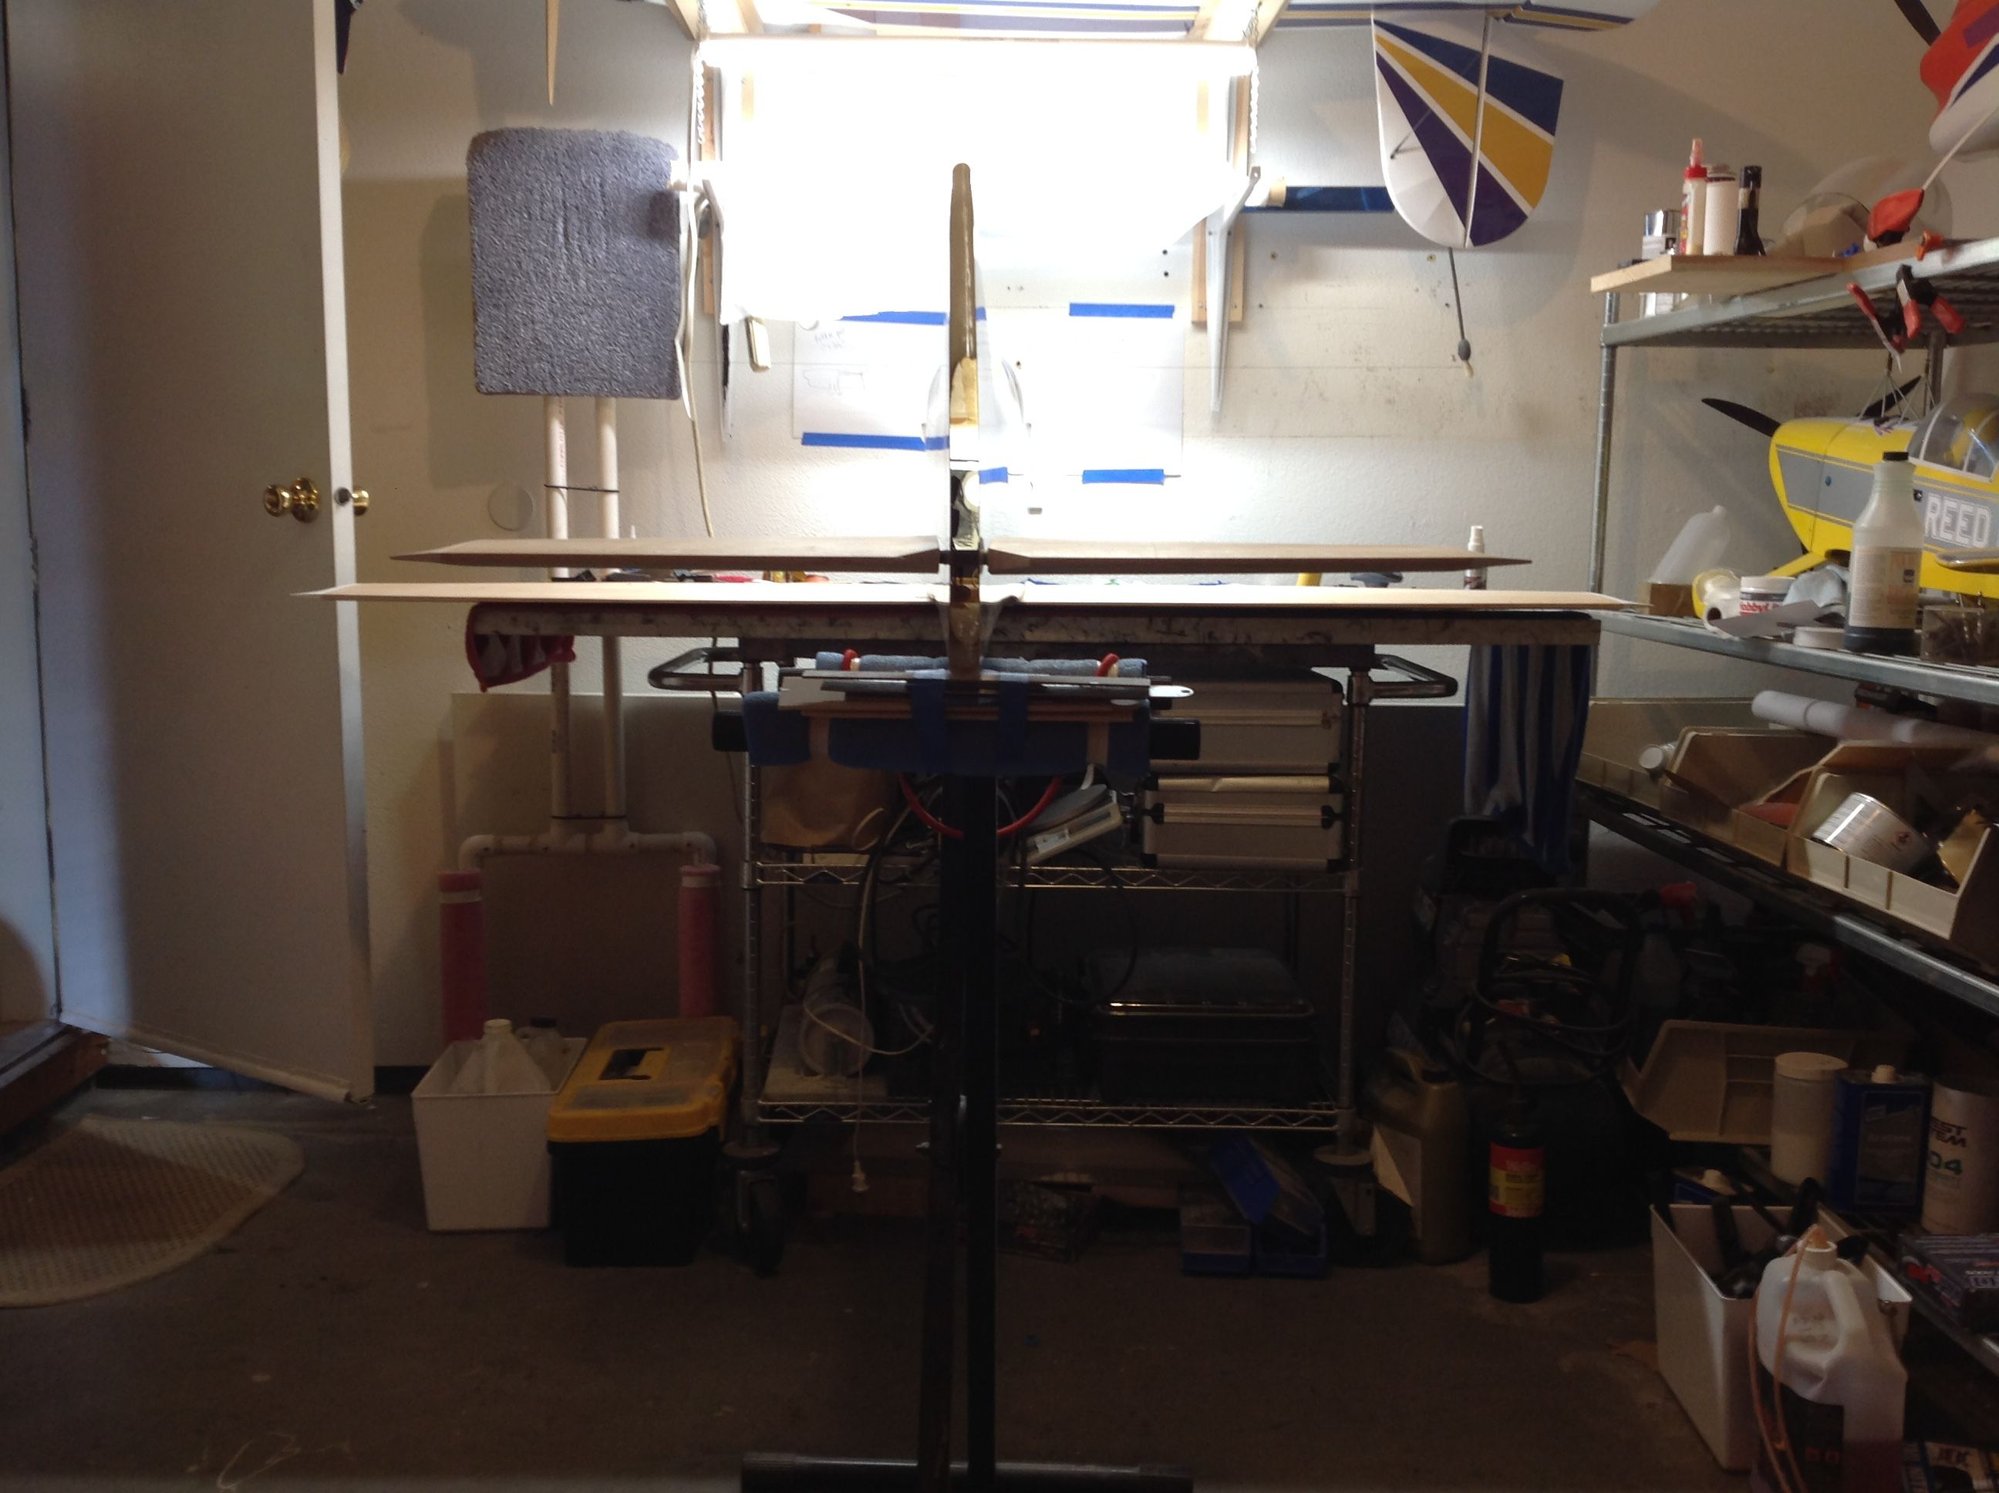
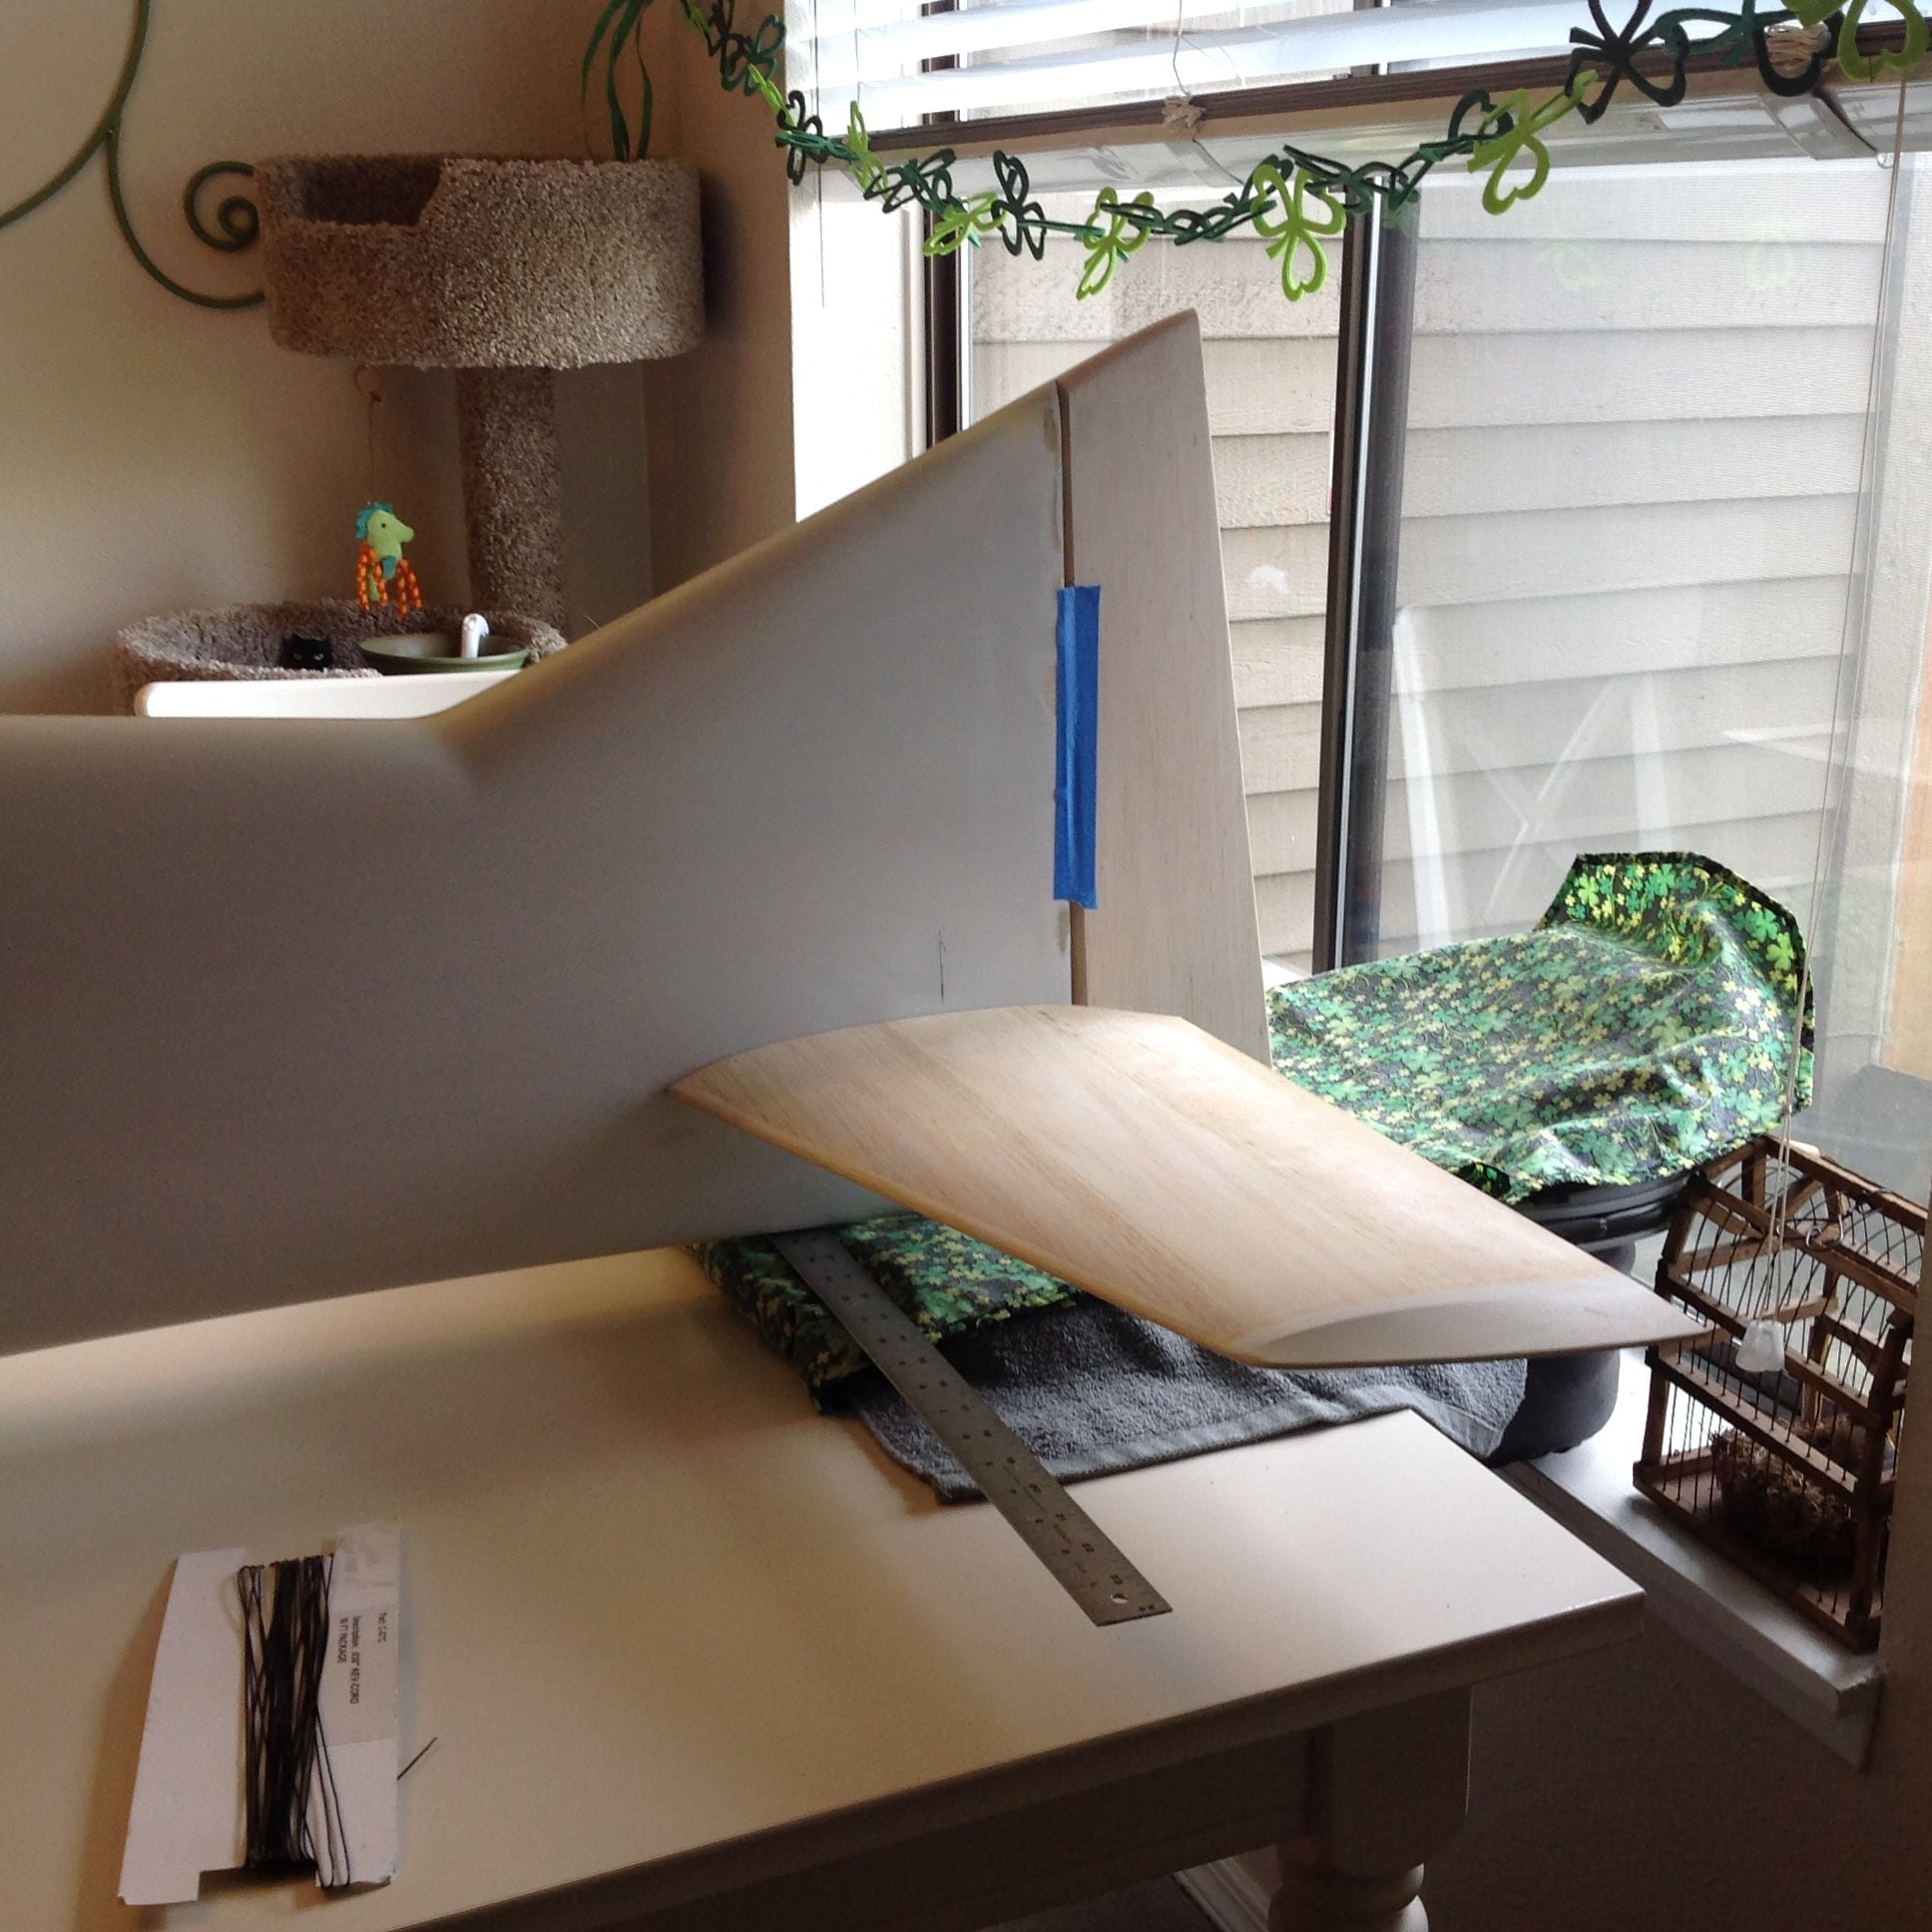
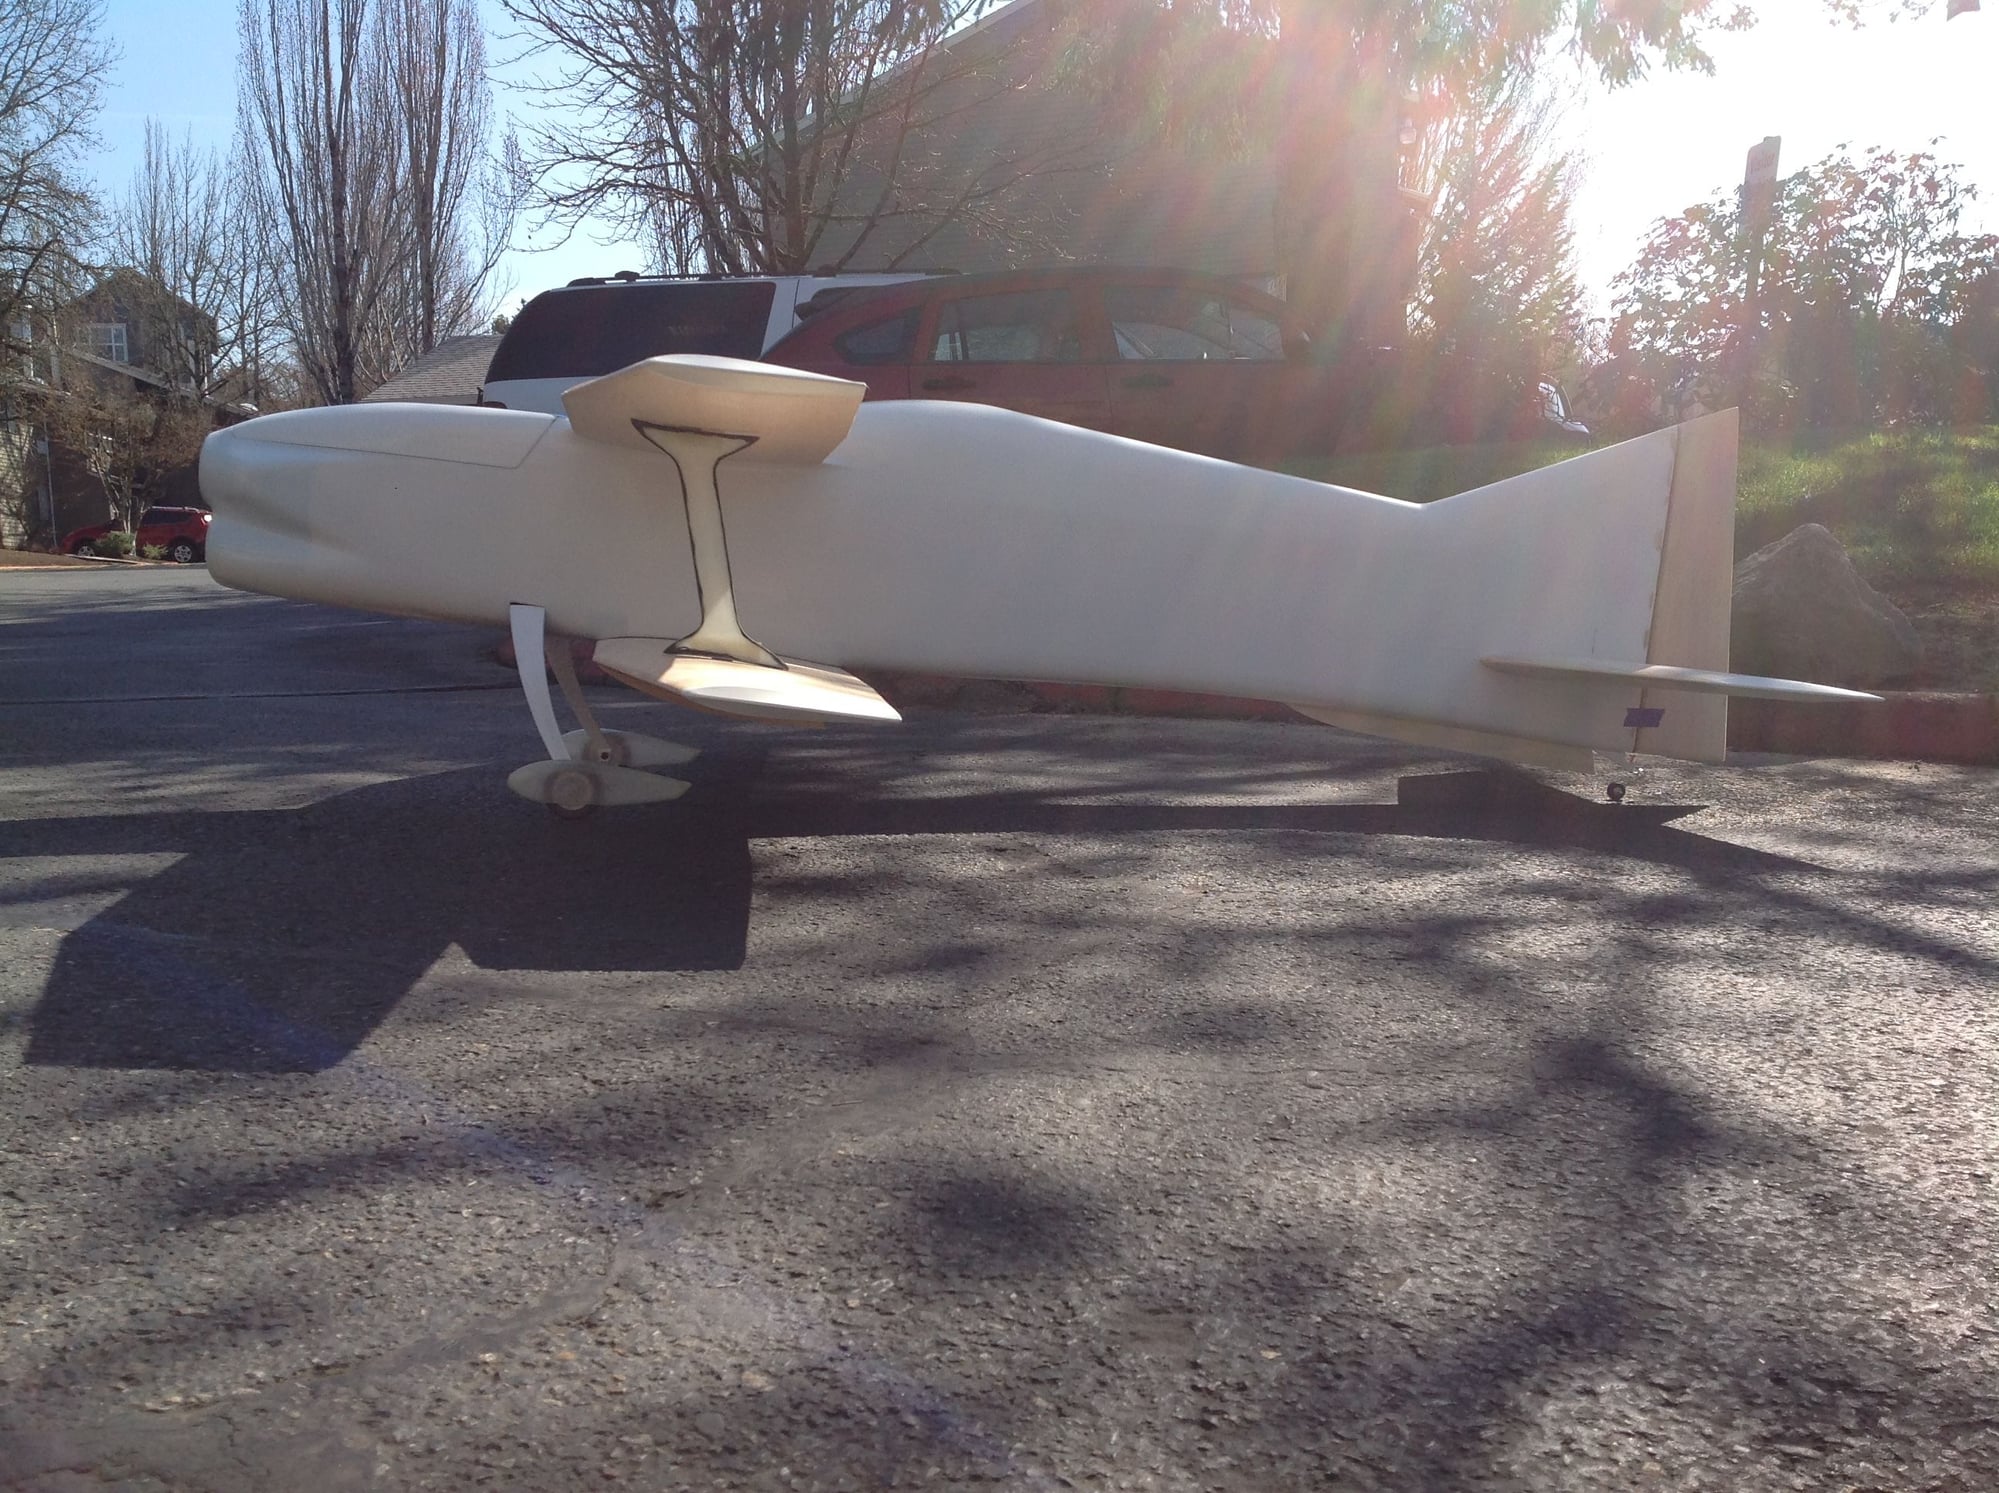
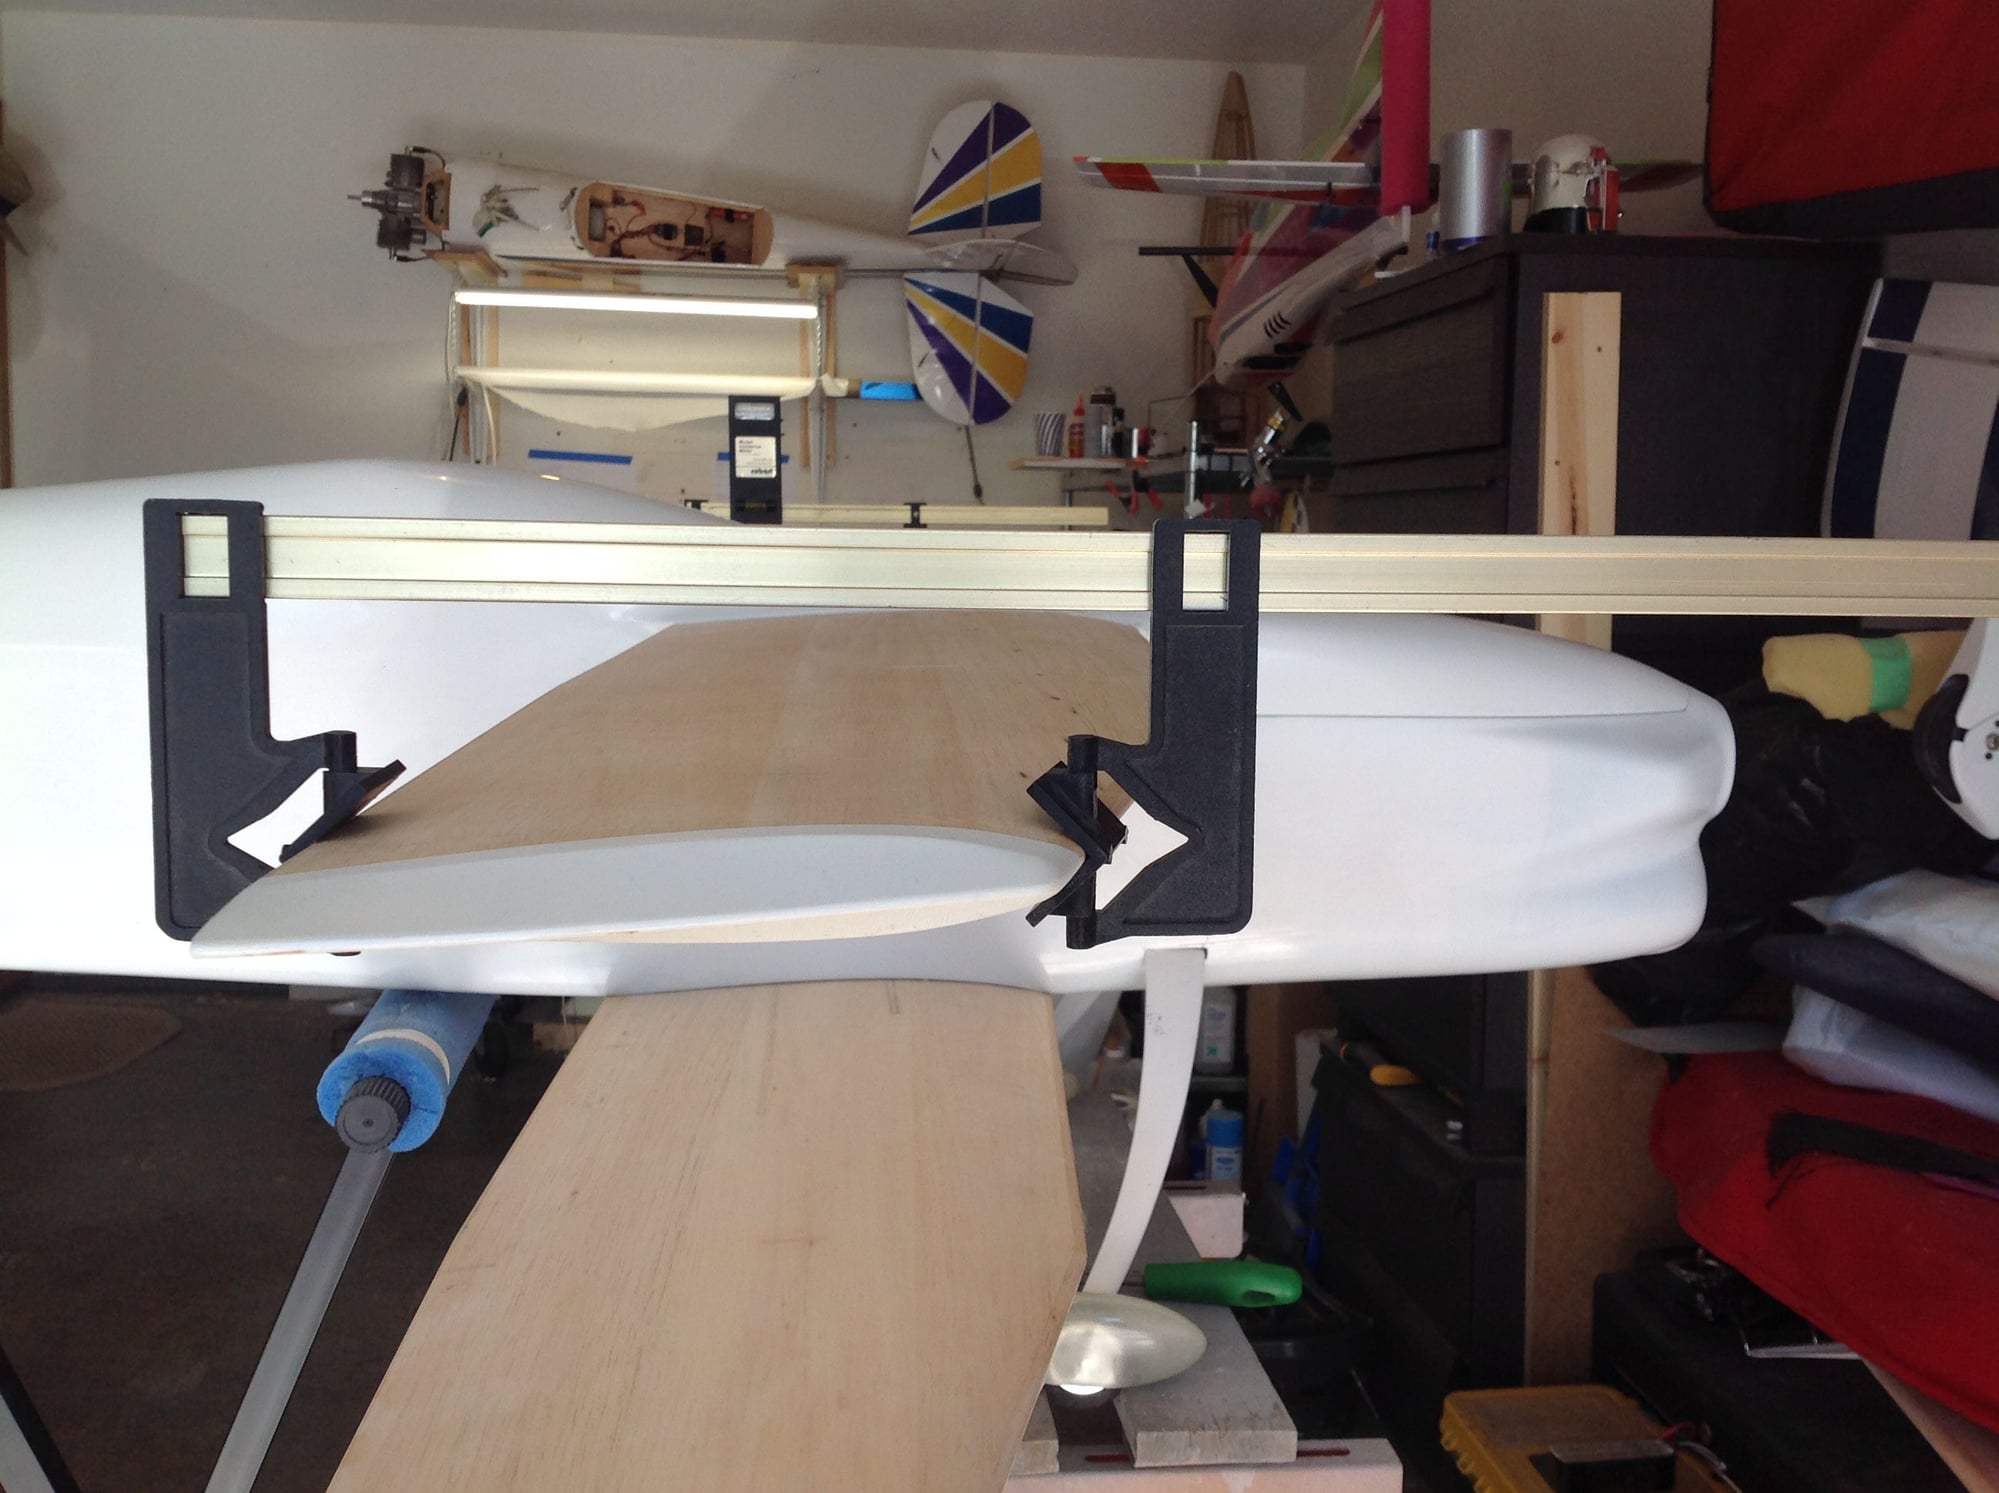
With the wing mounted, the fuselage is blocked up level. This is verified by readings taken from the hatch rail being at zero and nose ring being at 90 degrees. This puts the lower wing exactly where it should be, +1 degree.

The center of the stab tube is then marked on both sides of the fuselage. Using a level, I corrected the original line for zero degree stab incidence. A guide hole was then drilled for the stab tube.
The following users liked this post:
jnayjaso (04-05-2020)
02-16-2020, 02:43 PM
#104

Oops, holes are a little off. That's why I always start with a small pilot hole.
That's better, while opening the holes for the next size up CF rod the hole locations were adjusted. Next the holes can be opened up to the size of the stab tube.
The following users liked this post:
jnayjaso (04-05-2020)
02-16-2020, 02:50 PM
#105
The holes for the stab adjustment pin were drilled into the fuselage, the stab tube guide sleeve was installed and everything was dry fit and alignment was verified.
Everything was tack glued into place with thin CA, then assembled and verified again. Once verified still in alignment, epoxy fillets were applied to stab tube sleeve and anti rotation pin on the fuselage inside. Here it will set for a day or two until I have time to mount the upper wing halves.
The following users liked this post:
jnayjaso (04-05-2020)

The following users liked this post:
jnayjaso (04-05-2020)
02-17-2020, 06:27 PM
#107
I had a good stash of balsa prior to starting this build. After getting ghosted by a few guys ( one a high level team Futaba pilot ) after committing to buy a Divergent, I recently sold off my remaining balsa. After my experiences selling the first 3 kits this will most likely be the last one built. I still have the prototype which is in flawless condition and with this one added to the fleet I am set until either I can't fly Pattern anymore, the sequences require a different design or the FAA shuts us down. Who knows, what is going to happen with this whole FAA thing, some of my models may get donated and displayed in the same museum as the Spruce Goose.
The following users liked this post:
jnayjaso (04-05-2020)
02-17-2020, 06:52 PM
#108

FYI, got very high quality balsa with great service/prices from the guys at National Balsa. Their Aerolite line is very good, clean grain and consistent weights for 35 sheets of 1/16 x 3 x 36".
Last edited by ted32776; 02-17-2020 at 06:56 PM.
The following users liked this post:
jnayjaso (04-05-2020)
02-19-2020, 03:00 PM
#109

My Feedback: (121)
Hey Shawn,
sorry to hear about the purchase issues. The design looks good to me, but hasn't been flown by a 'top' pilot to numerous victories; so it isn't 'proven' in their minds. These same guys will buy the latest BJ Craft design almost sight unseen.
I really hope the FAA doesn't do something regrettably stupid, but if I start seeing Amazon drones it will be time for a little 'skeet' practice...
I think National Balsa is the only US supplier of contest balsa. Even SIG has stopped selling it, at least temporarily.
I think the Spruce Goose hit about the same ceiling that we need, ironically.
-Will
The following users liked this post:
jnayjaso (04-05-2020)
02-19-2020, 04:08 PM
#110
Just to add, Amazon is only one player. I did some subcontract drone-related work for ATT last year and there is a big national push for police and media contracts using large drones with ATT and many other big companies competing. All will be using the under 400ft ceiling along with delivery drones. Best way to relate to it will be think of your future life as a crappy sci-fi movie.
Last edited by ted32776; 02-19-2020 at 04:10 PM.
The following users liked this post:
jnayjaso (04-05-2020)
The following users liked this post:
jnayjaso (04-05-2020)
03-01-2020, 01:59 PM
#112
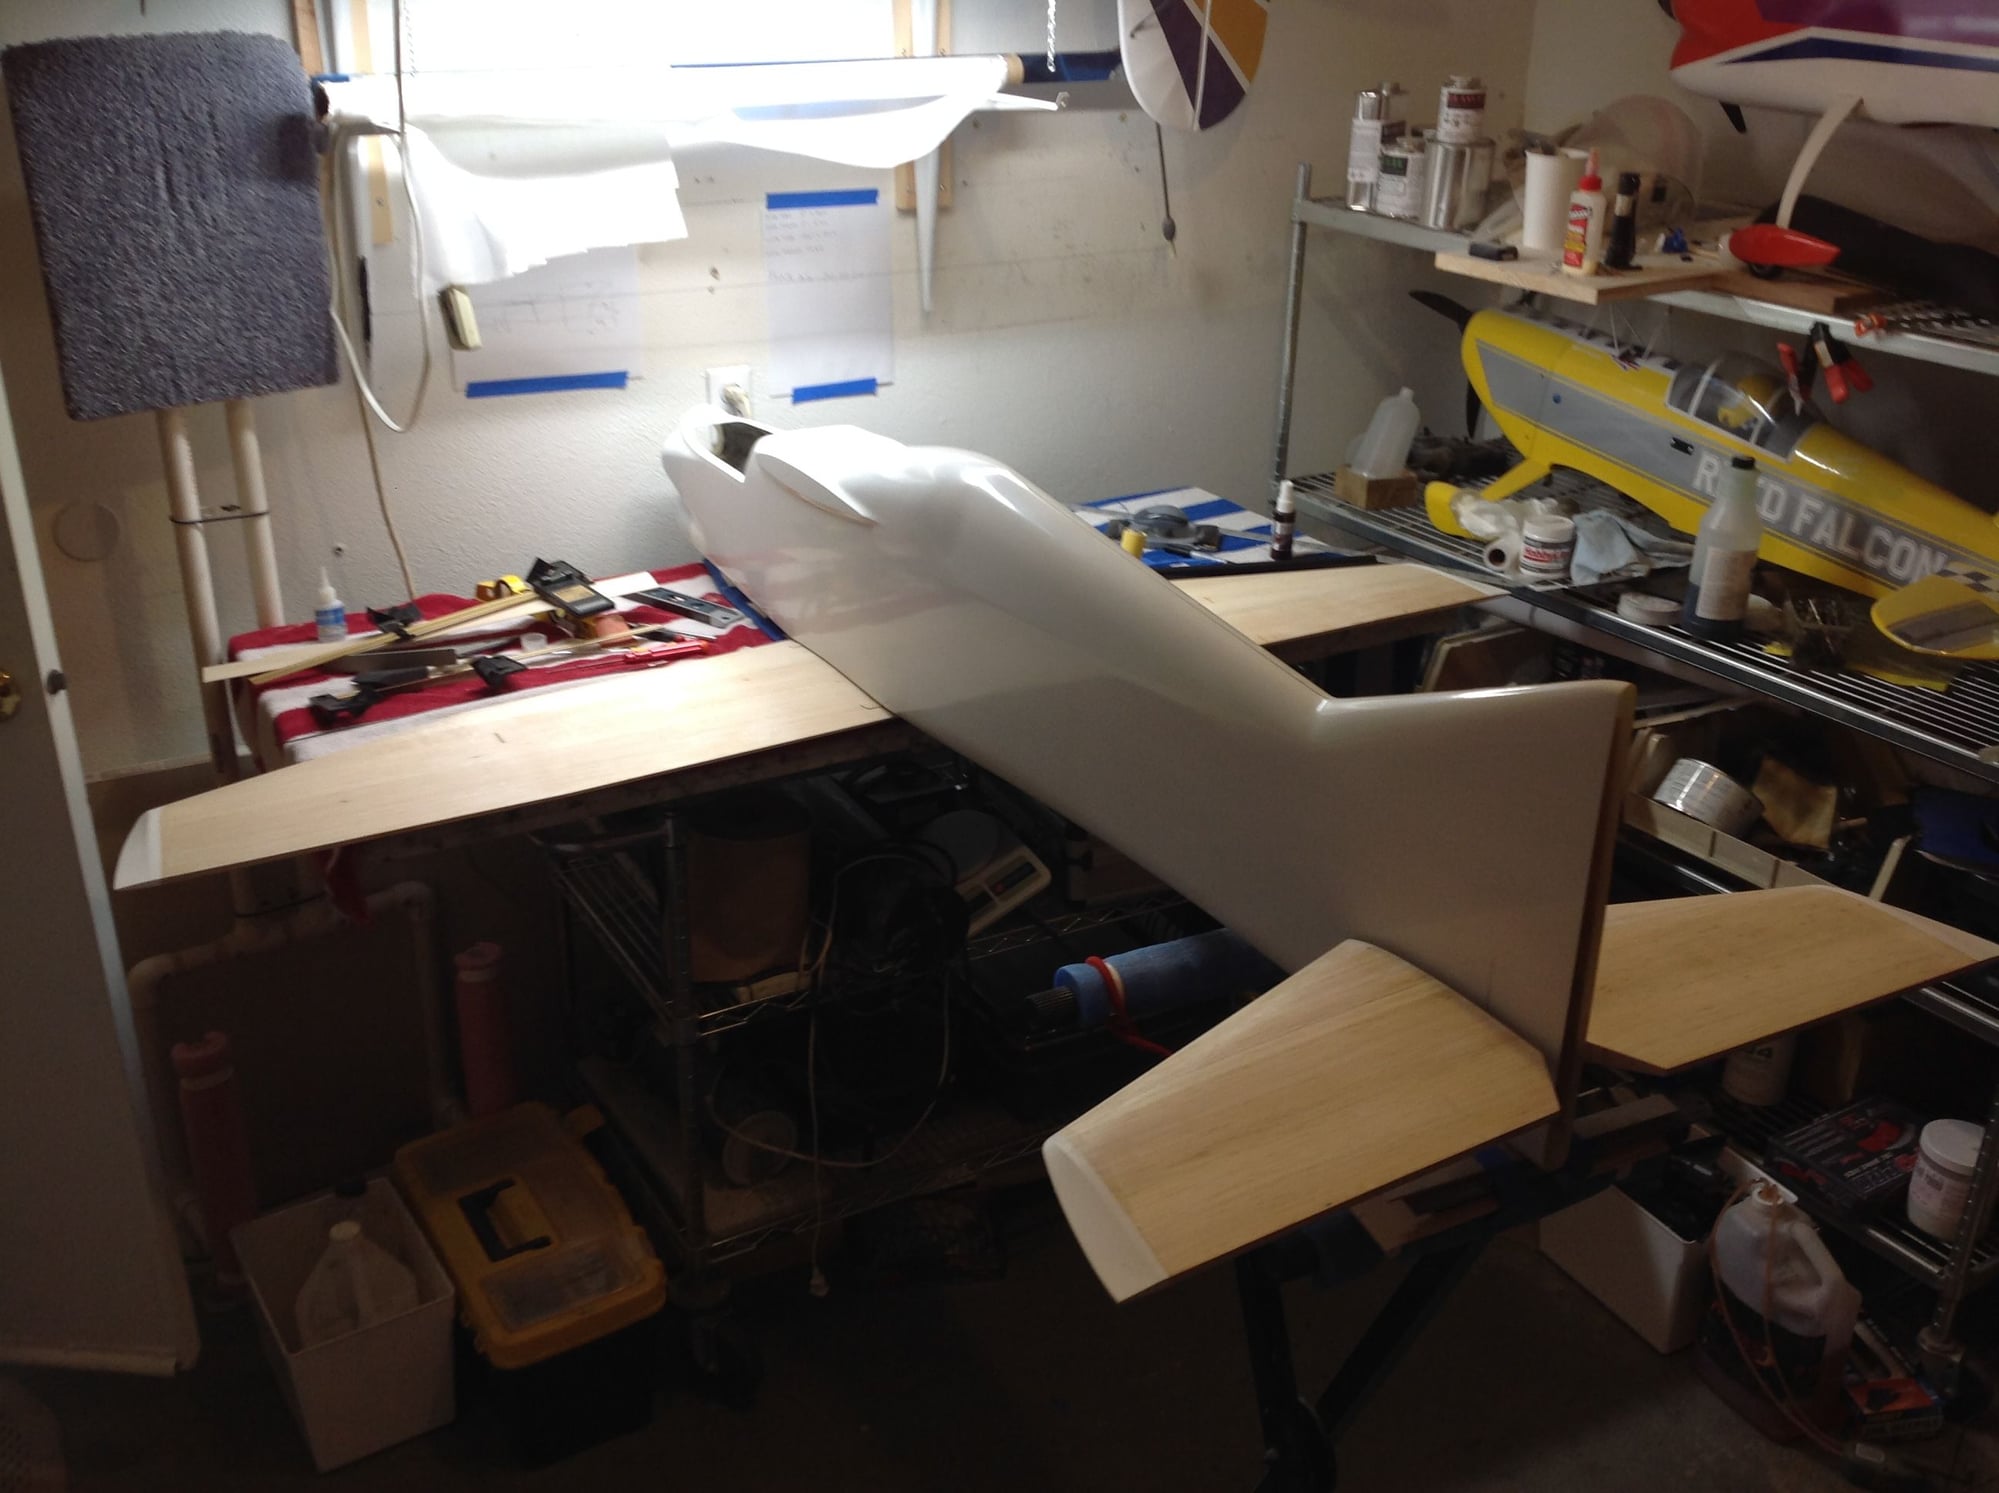
I think the new rudder looks much better then the prototype. I'm thinking of adding 3/8" more cord to the top and tapering to mid span. The stab has been lowered 1/2" from prototype as well. Rudder and stab changes hopefully will reduce mixes even more.
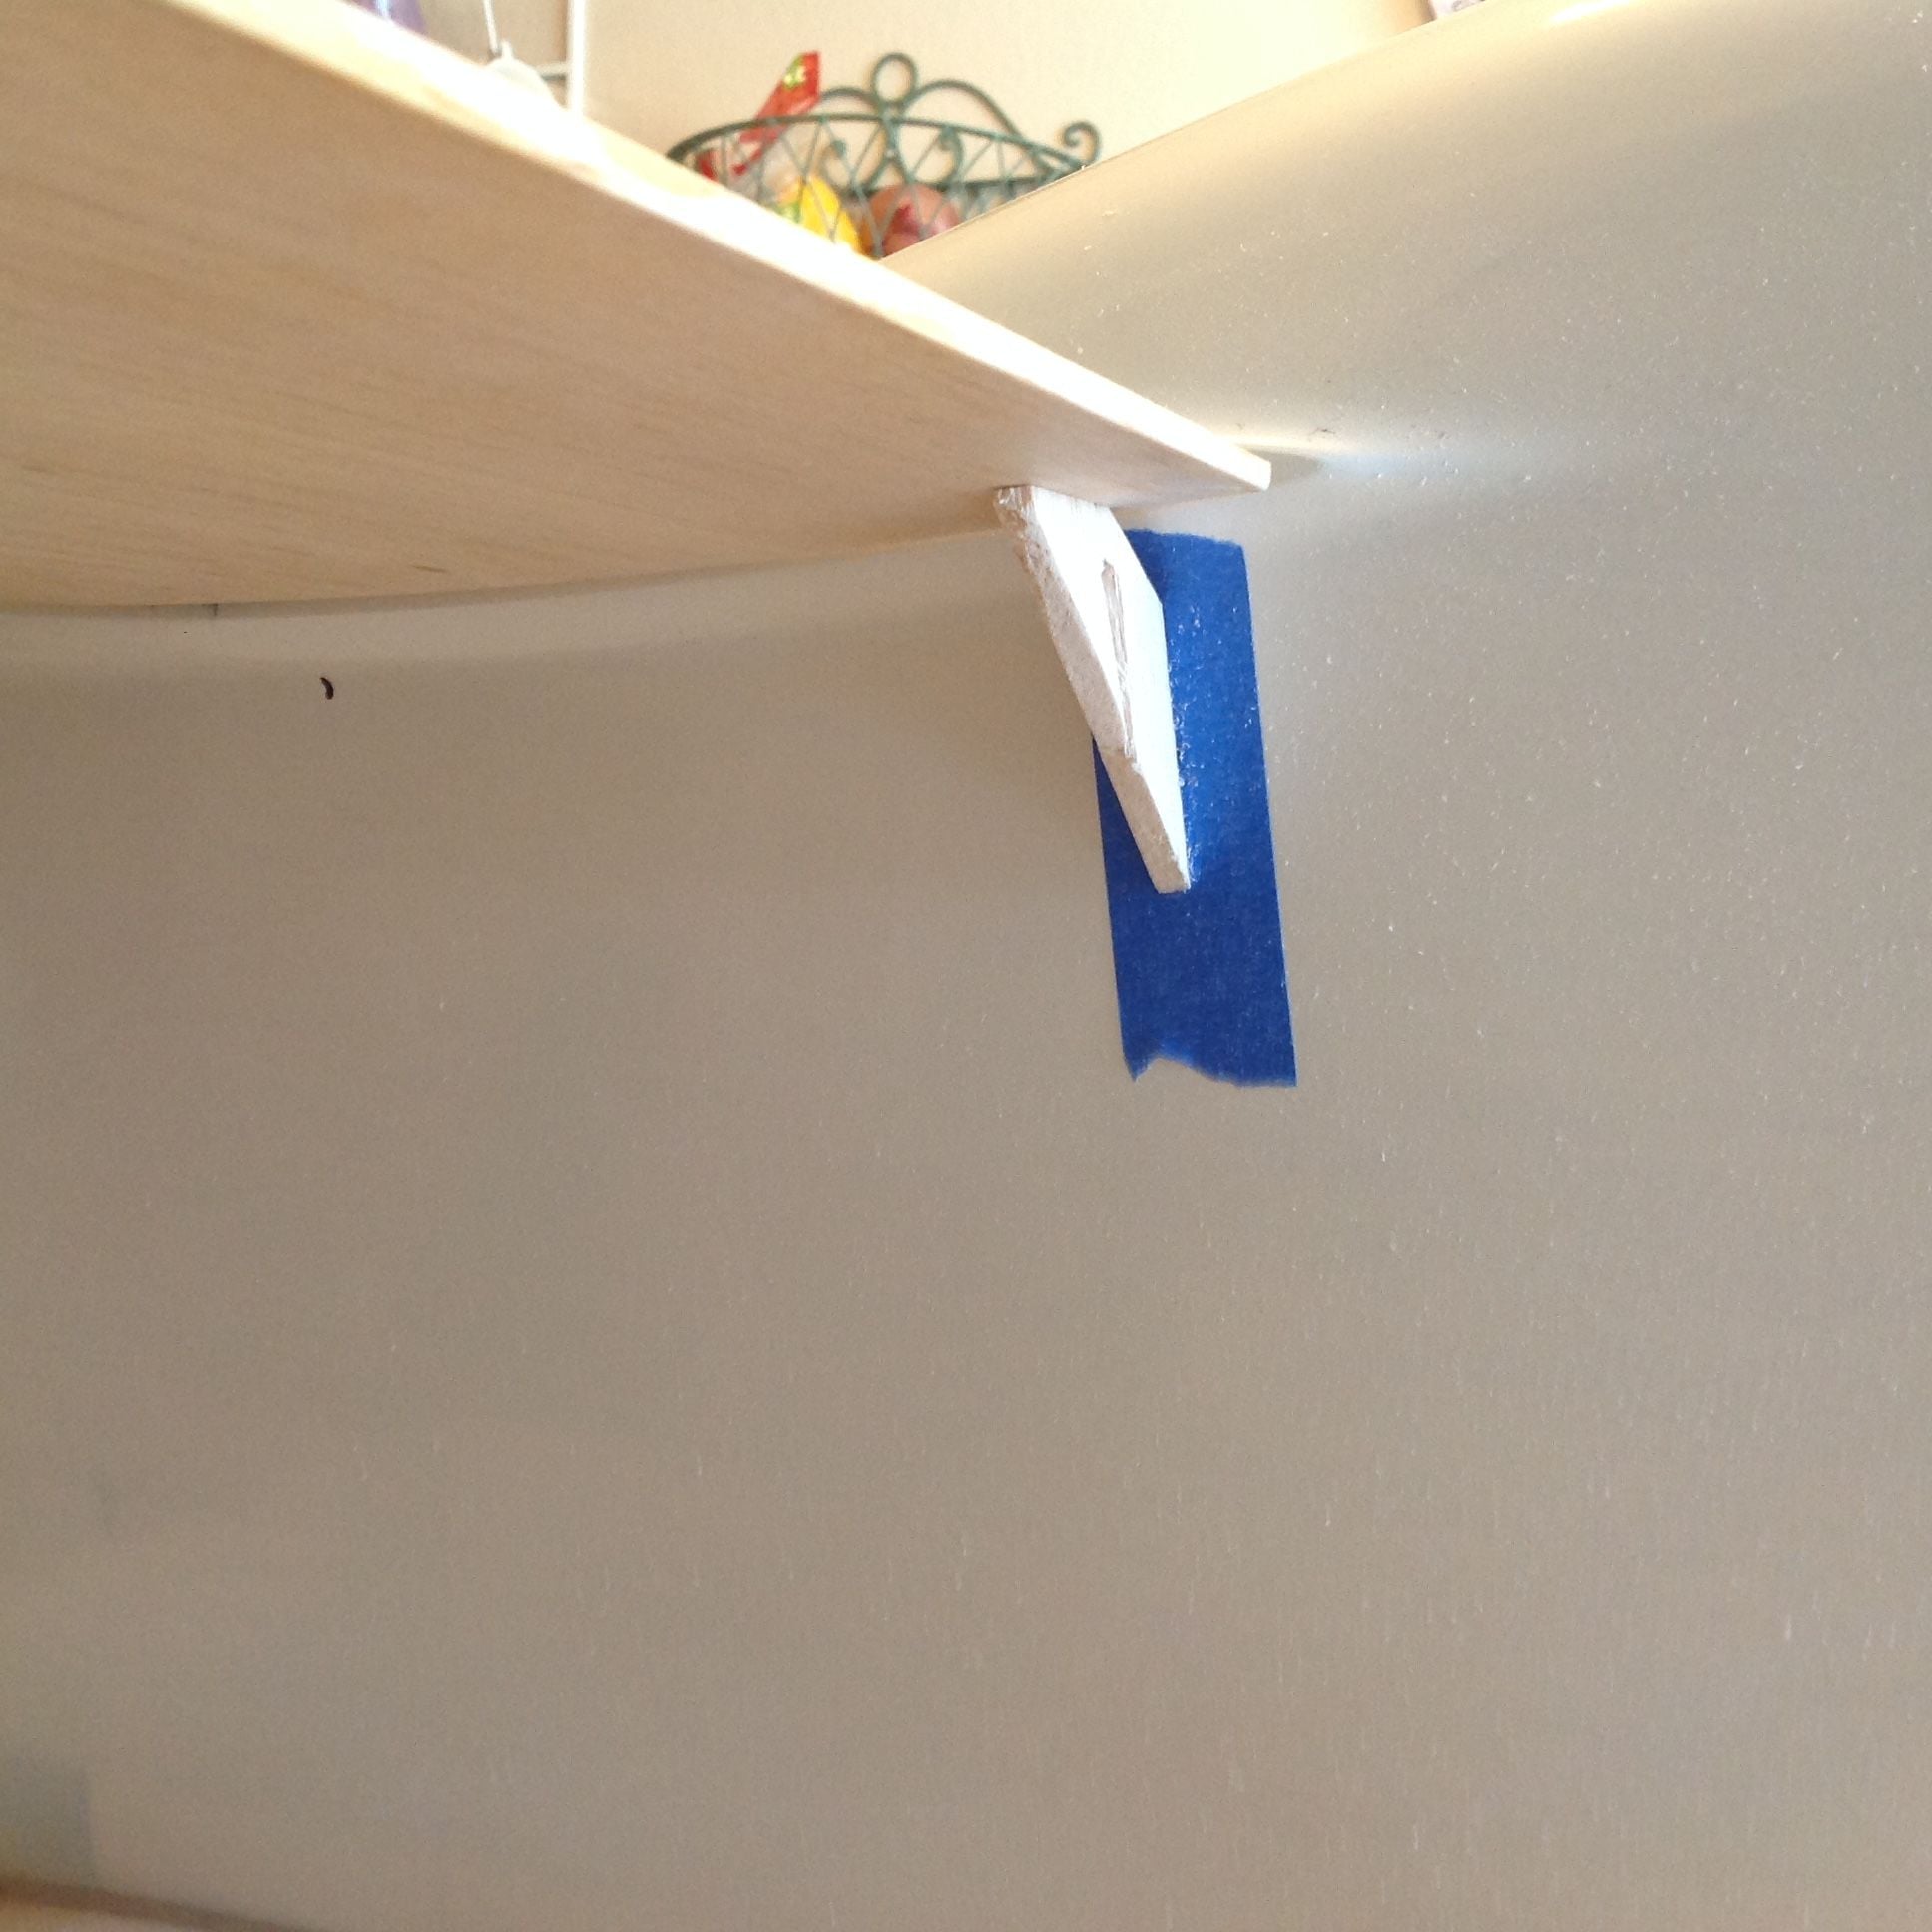
Wedge tack glued to fuselage to hold wing in place. I found that trying to get everything in alignment without anti rotation pins in place much easier.
The following users liked this post:
jnayjaso (04-05-2020)
03-15-2020, 09:23 AM
#113
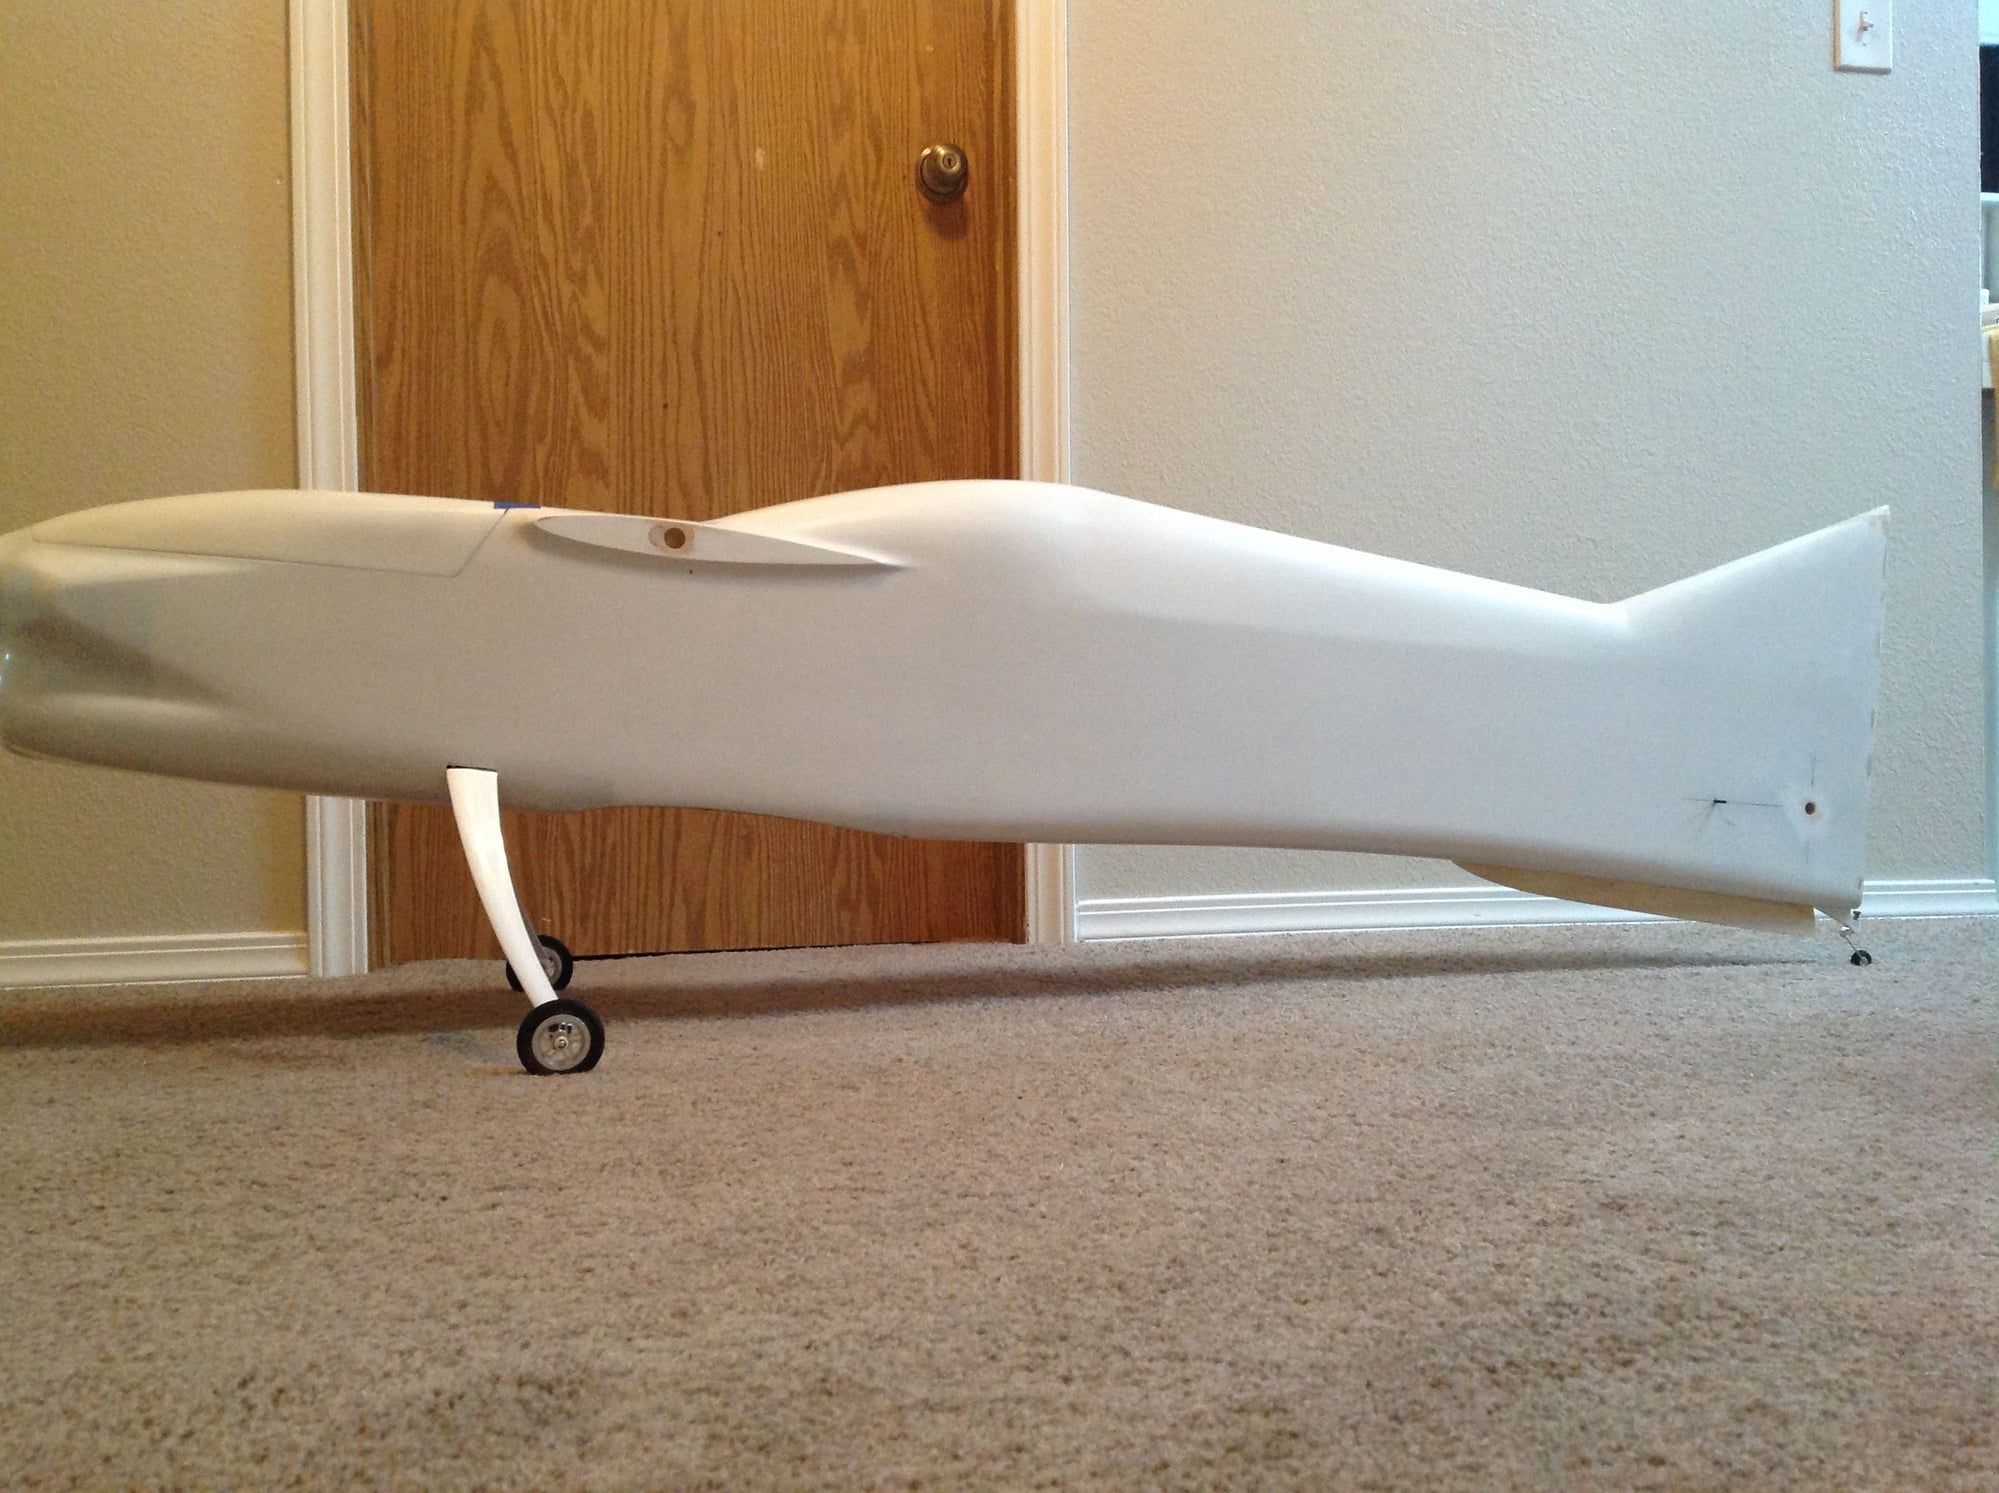
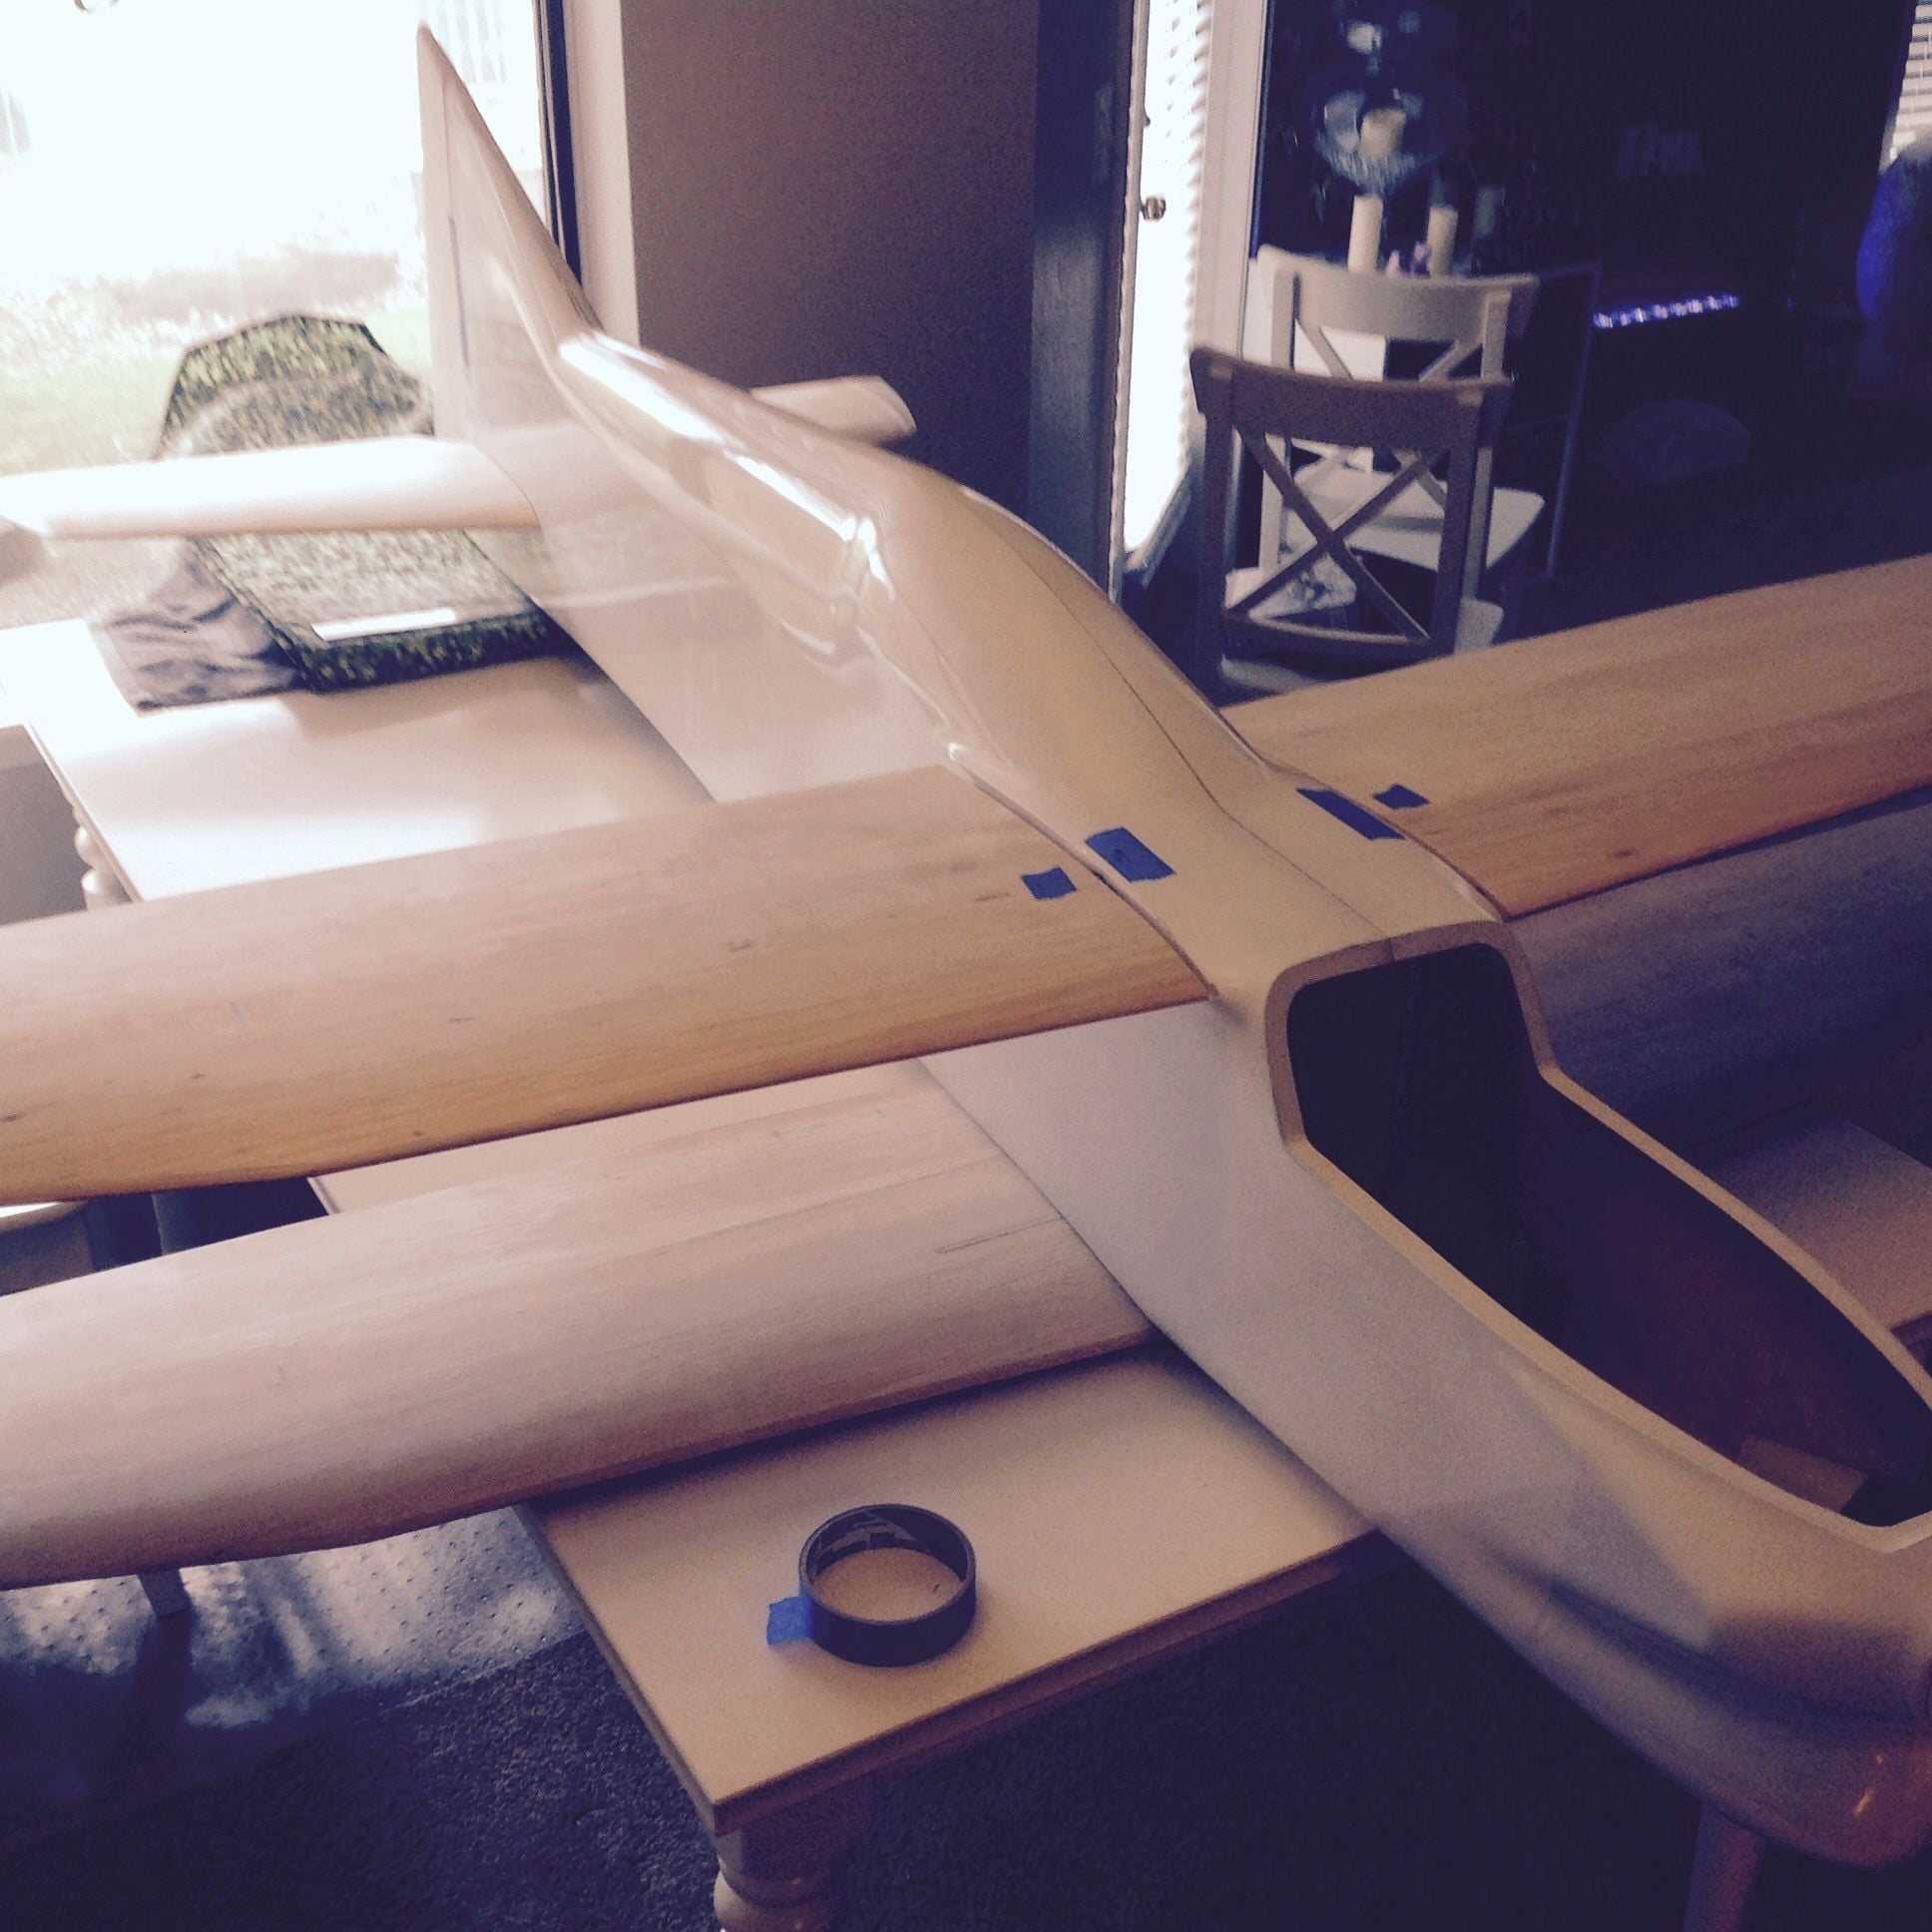
This weekend I mounted the landing gear and tailwheel assembly. Since I will be mainly flying off grass I went with a Sullivan unit for durability. I also added a sub fin under the aft fuselage.
Separated the elevators from the stabs. The elevator LE and stab TE will be faced with 1/8" balsa and double beveled. The cut on the tips will get sealed with 1.4oz glass cloth.
The following users liked this post:
jnayjaso (04-05-2020)
The following users liked this post:
jnayjaso (04-05-2020)
The following users liked this post:
jnayjaso (04-05-2020)

The following users liked this post:
jnayjaso (04-05-2020)
The following users liked this post:
jnayjaso (04-05-2020)
03-24-2020, 05:07 PM
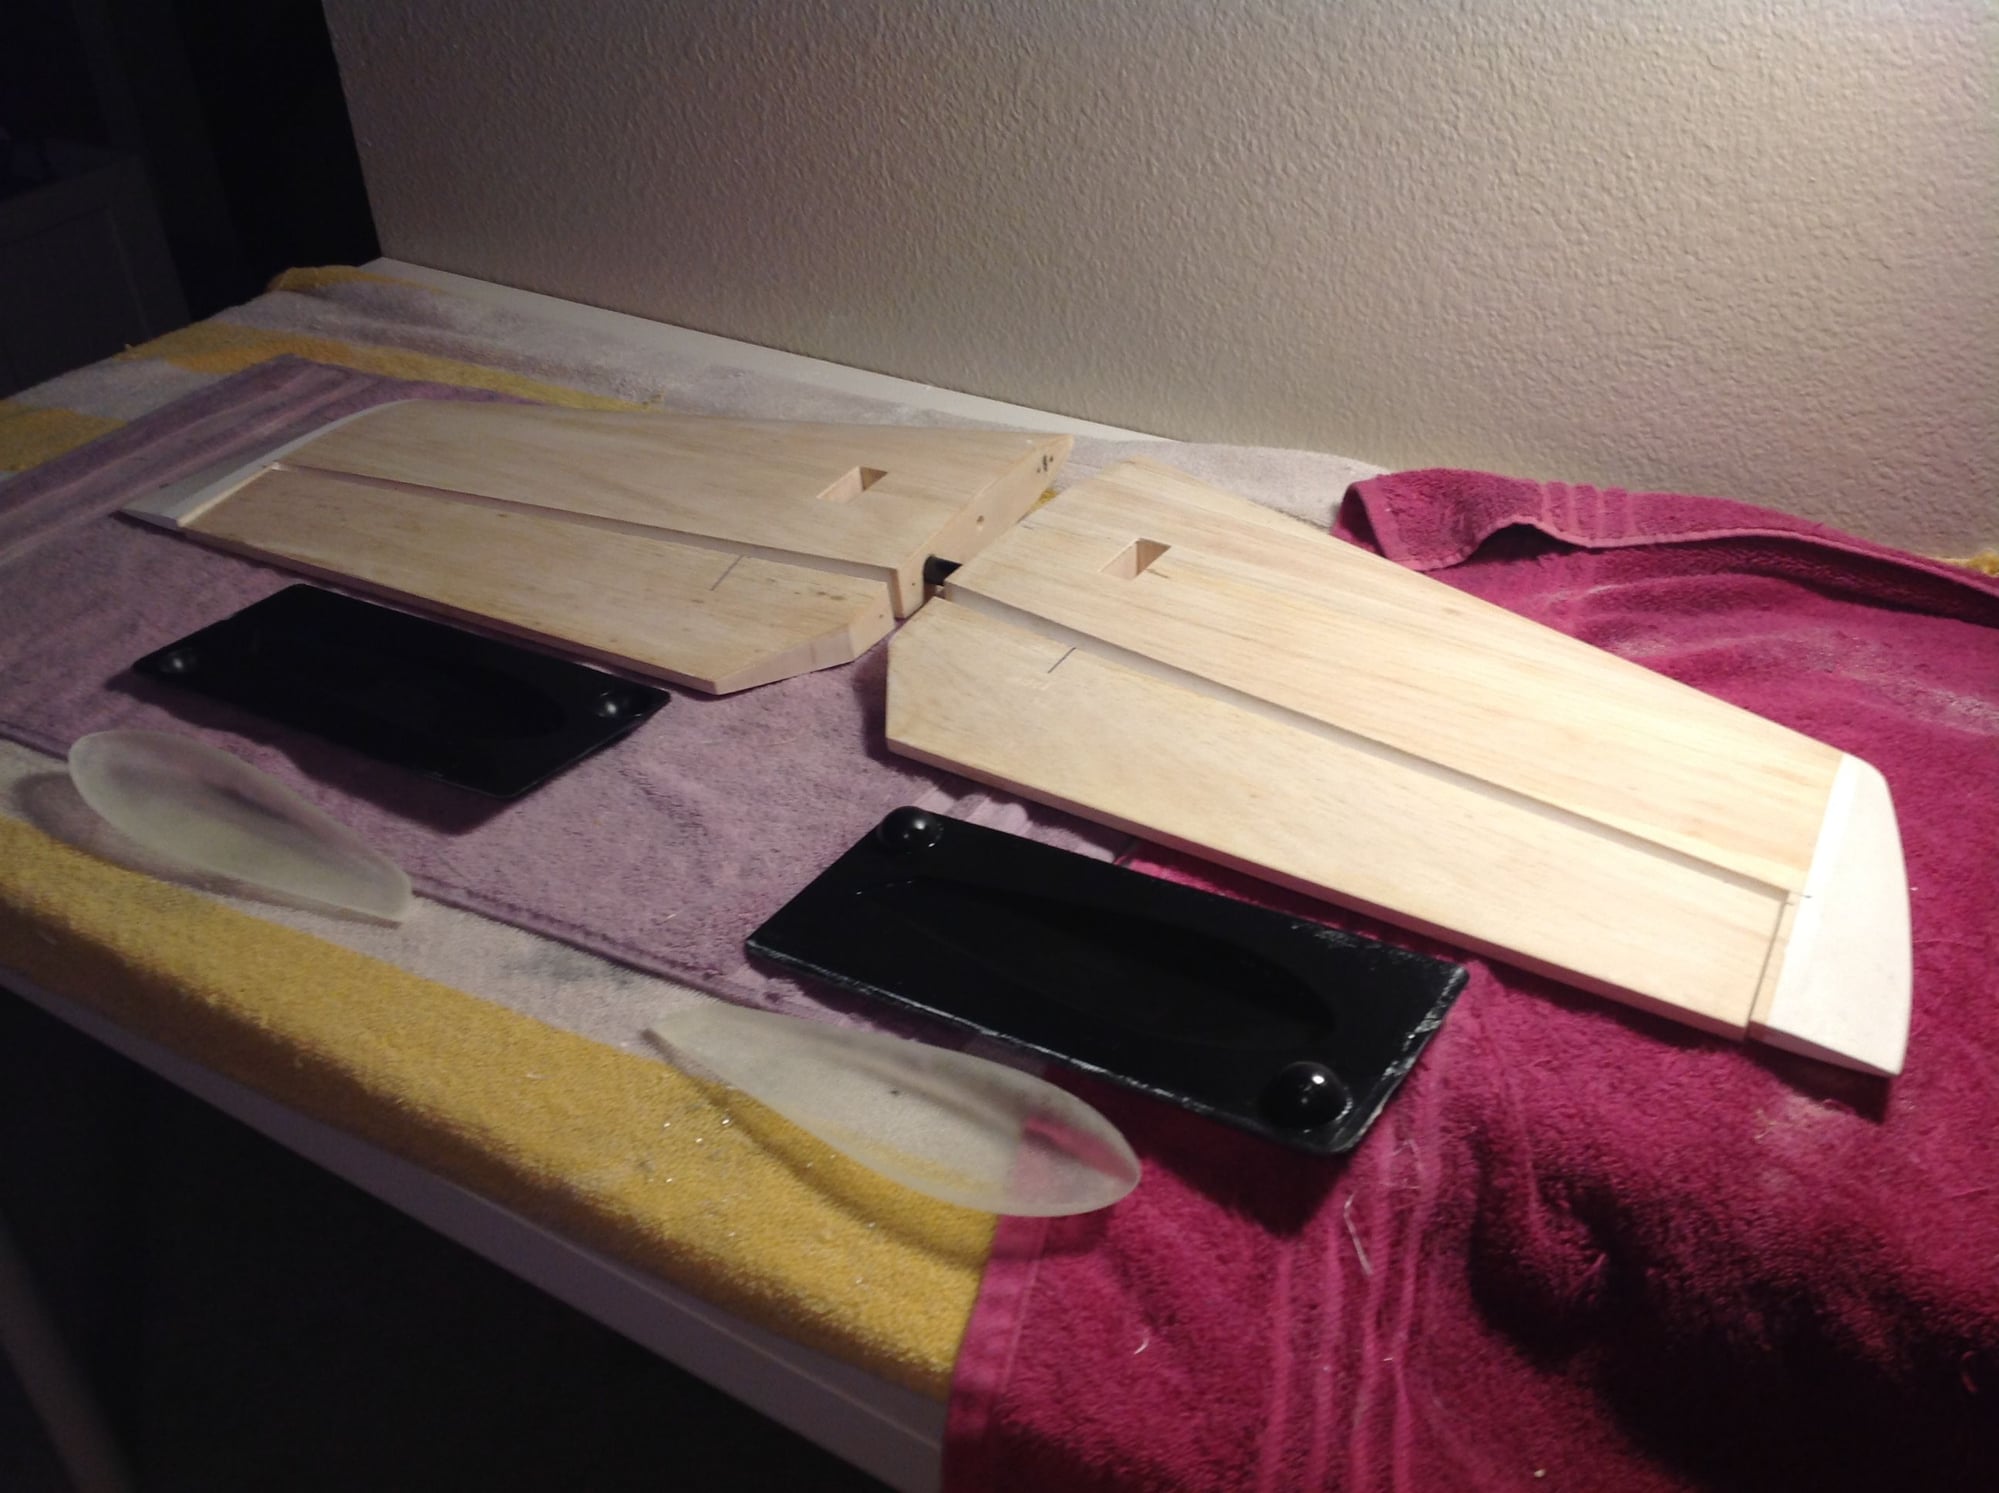
#119
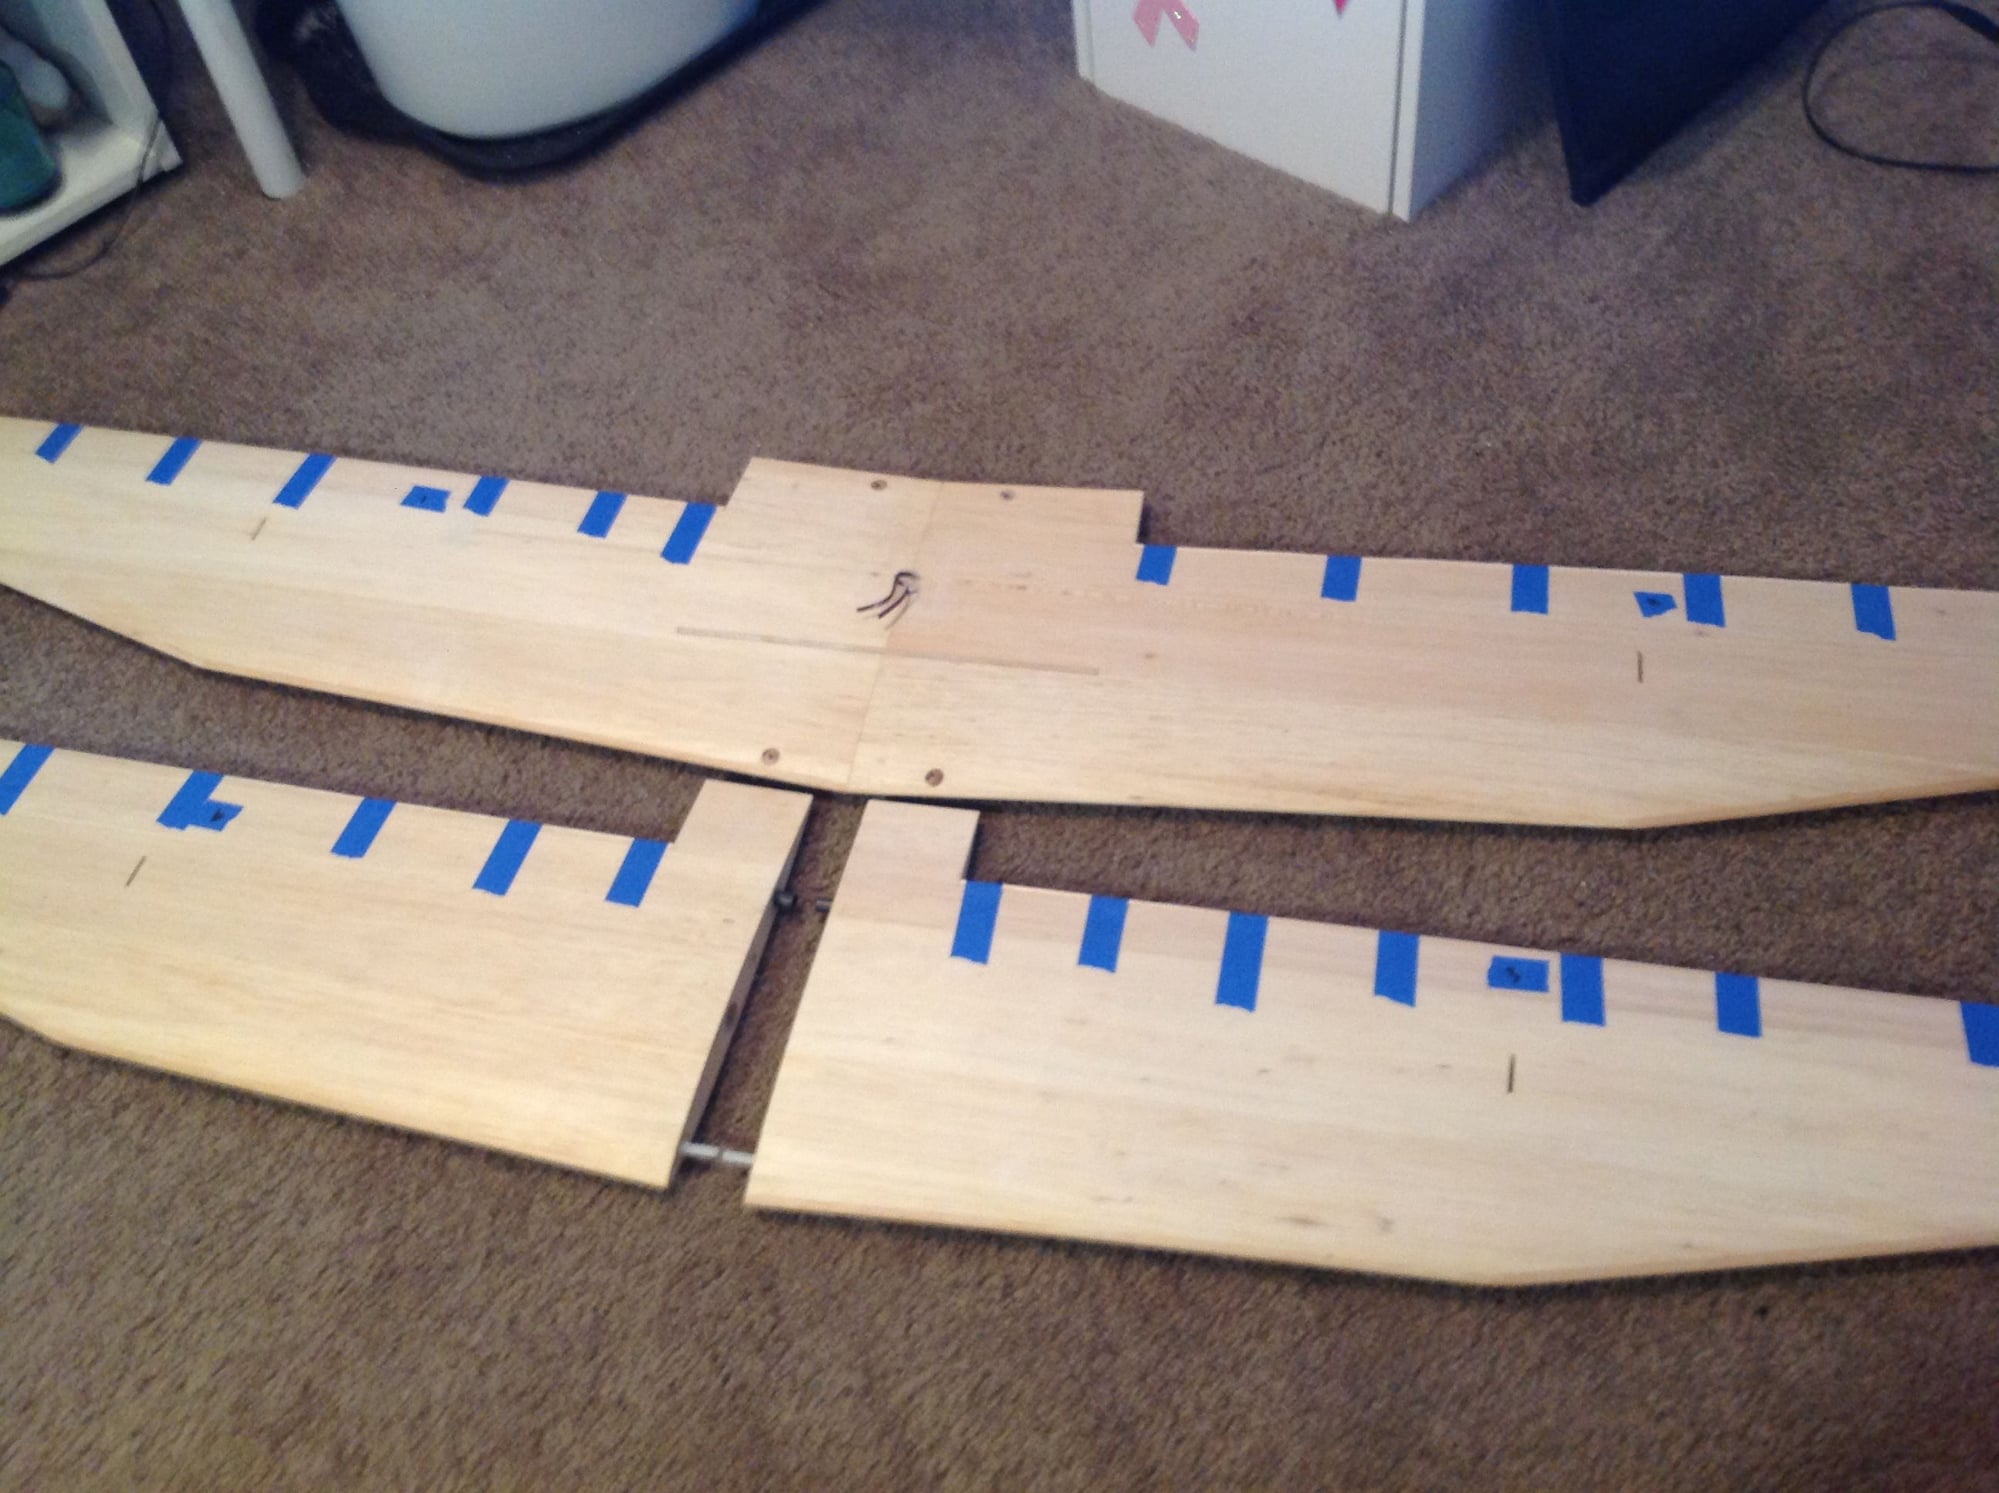
I separated the ailerons from the wings on Sunday. I should have taken pictures of the process but didn't think if it until afterwards. This time around I used a Dremel router. With the wing half taped onto a master shuck, a shim of 1/4" sq. X36" balsa stock was placed at the trailing edge in a location that would tilt the router so the bit oilfield be 90 degrees to the hinge line. Then taped a straight edge onto the wing as a guide for the router base. A single pass with a 1/4" bit was all it took. The tips were separated with a scroll saw. Tonight I glued the 1/8" balsa facing onto the wings with Titebond. Tomorrow I will sand flush and fine tune the ailerons cord and span then glue the facings onto them.
The following users liked this post:
jnayjaso (04-05-2020)
03-26-2020, 03:46 PM
#120
I now have 1/8" balsa facings on the aileron hinge lines, now the task of beveling 8 facings. I got an email from Mike Mueller today and my servos shipped today. MKS 69HV on everything except rudder. I haven't made a firm decision there as of yet. The goal is to have the servo in the tail but that is CG dependent.
The following users liked this post:
jnayjaso (04-05-2020)
03-27-2020, 01:26 AM
#121
Hi,
I have MKS HV 69 servos and i find the servoarms to small and thin. Search around and found arms in a drawer that fit these are Graupner arms (thight fit)used on HBS 660 Mg servos.I contacted the seller ( in UK) re other arms to HV69 but negative answer . My servoarms problem is solved!!!!
I have MKS HV 69 servos and i find the servoarms to small and thin. Search around and found arms in a drawer that fit these are Graupner arms (thight fit)used on HBS 660 Mg servos.I contacted the seller ( in UK) re other arms to HV69 but negative answer . My servoarms problem is solved!!!!
The following users liked this post:
jnayjaso (04-05-2020)
03-27-2020, 03:55 AM
#122
I use MKS HV69 as well. I've found that most typical 25T arms such as Futaba work well with small mods. The HV 69 spline has about 3.5mm exposed height above the case while most other 25T splined servos are about .5mm taller [like MKS HV747, 777,etc]. Simply file off a very small amount of the plastic material at the base of each servo arm till there is a very small gap to the servo case when the arm screw is fully tightened. This allows the use of various heavy duty plastic arms as well as aluminum types. I've even found some CNC aluminum arms that have plenty of clearance unmodified.
The following users liked this post:
jnayjaso (04-05-2020)
03-27-2020, 01:58 PM
#123
No worries, I ordered the appropriate aluminum servo arms when the servos were ordered. My hope with the rudder servo is to be able to use a wing servo flush mounted in the aft fuselage with a short pushrod. At this point this is the servo I hope to use. The airplane will have to be pretty much done before I can do a CG check and decide if I can go forward with this plan or will need the servo up front and run pull pull.
The following users liked this post:
jnayjaso (04-05-2020)
03-27-2020, 03:19 PM
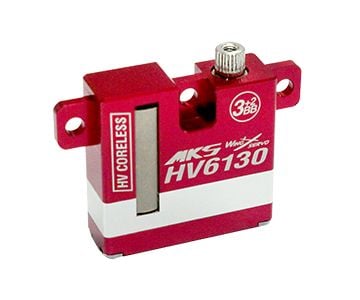
#124
Here's hoping you are on the right track because I've already committed to the rear rudder servo. Now, to be honest, I did not think the 6130 had enough balls for rudder but I defer to your experience. It's a good bit less than the HV69 on torque and frankly, I had convinced myself that the only thing to use was the HV747! Maybe I'm just practicing overkill. I'd prefer to use the HV69 for it's weight but even it's a lot less torgue than the 747. My brain hurts.... where's my nurse......I need my meds and a sponge bath to clear my head.
Last edited by ted32776; 03-27-2020 at 03:21 PM. Reason: added
The following users liked this post:
jnayjaso (04-05-2020)
03-27-2020, 03:33 PM
#125
Ted, I think 112oz on the rudder will be just fine. You will be able to run a 2:1 ratio between rudder horn and servo arm and still have plenty of throw. I do have a 747 on the rudder of the prototype and feel it is overkill. The aileron and elevator servos ( KST ) on the prototype only have 70oz and have been problem free for over two years.